
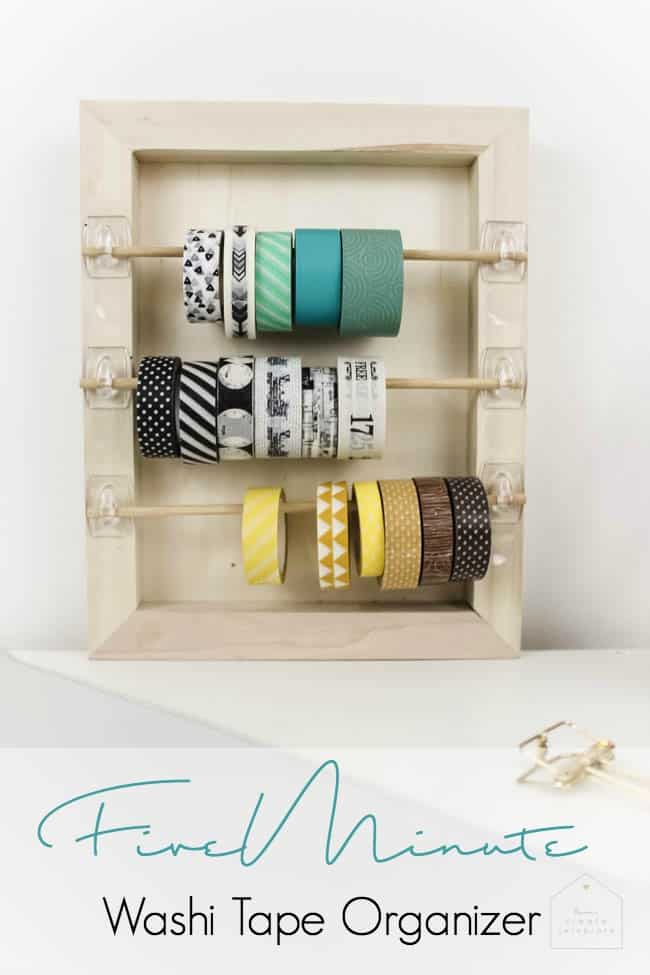
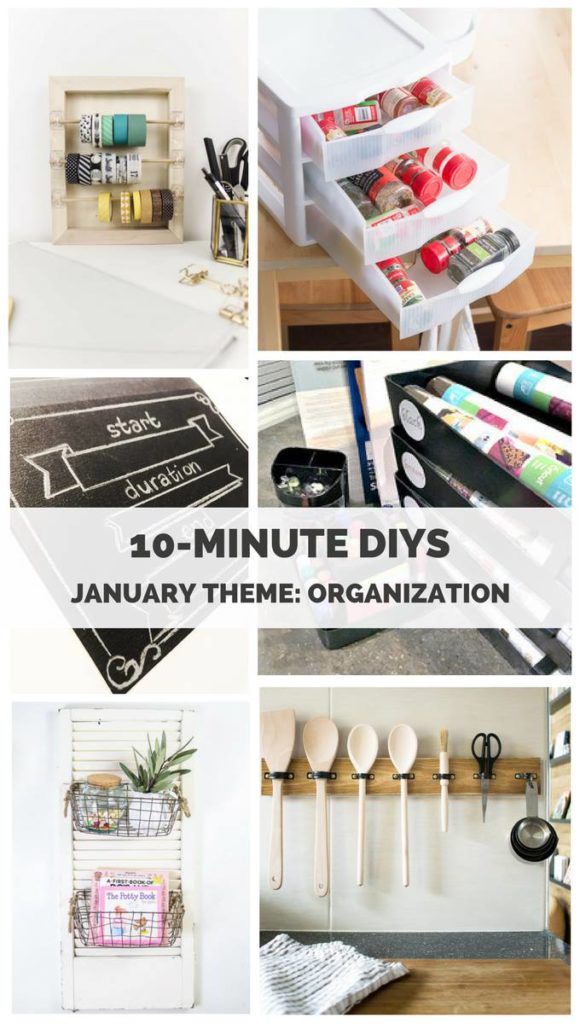
There’s this thing I do on my blog from time to time where I share crazy complicated projects. I’m talking multiple steps, multiple tools, crazy math… and while I LOVE sharing those projects and sharing our crazy inventions, I realized that I need to start sharing some of the quick and easy DIYs that I have all over my home too. So I’m starting a new series with some of my lovely bloggy friends. Once a month we will share 10 Minute DIYs. And I promise this Washi Tape Organizer is less than 10 minutes!
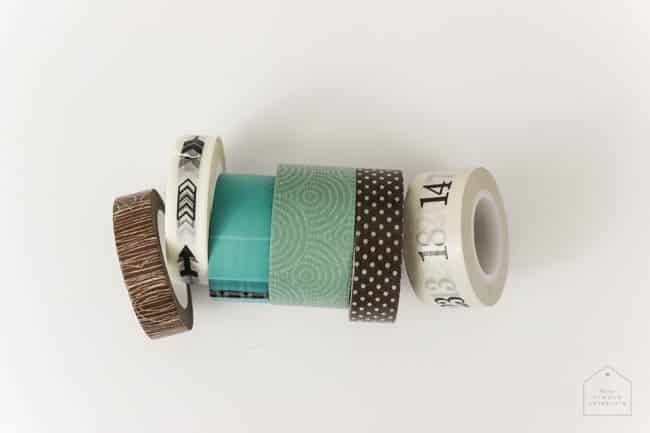
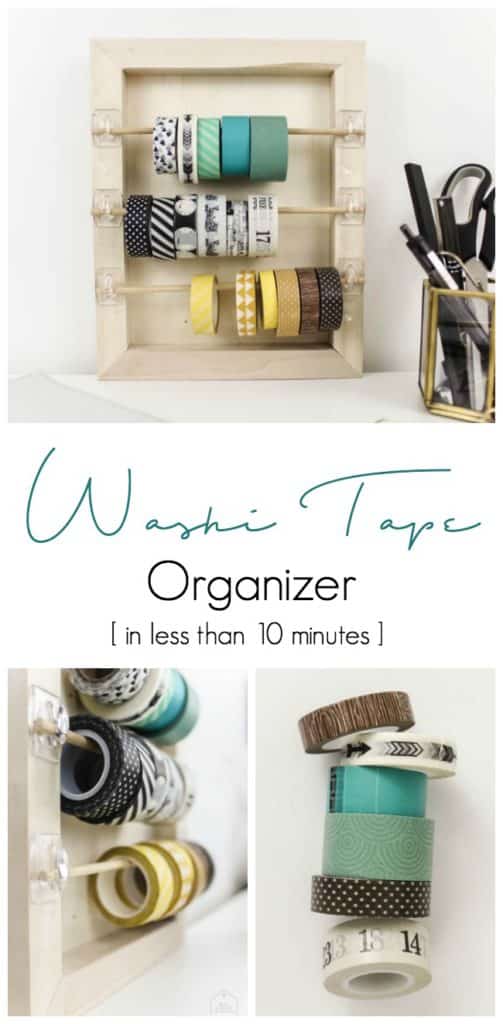
I chose to organize my washi tape, but this would work just as well for ribbon or twine too.
Materials:
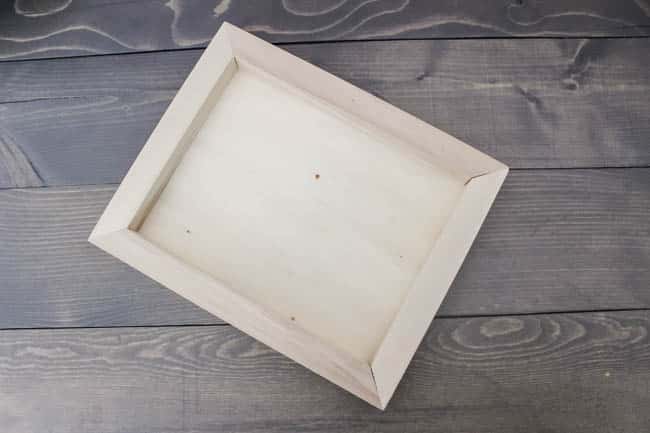
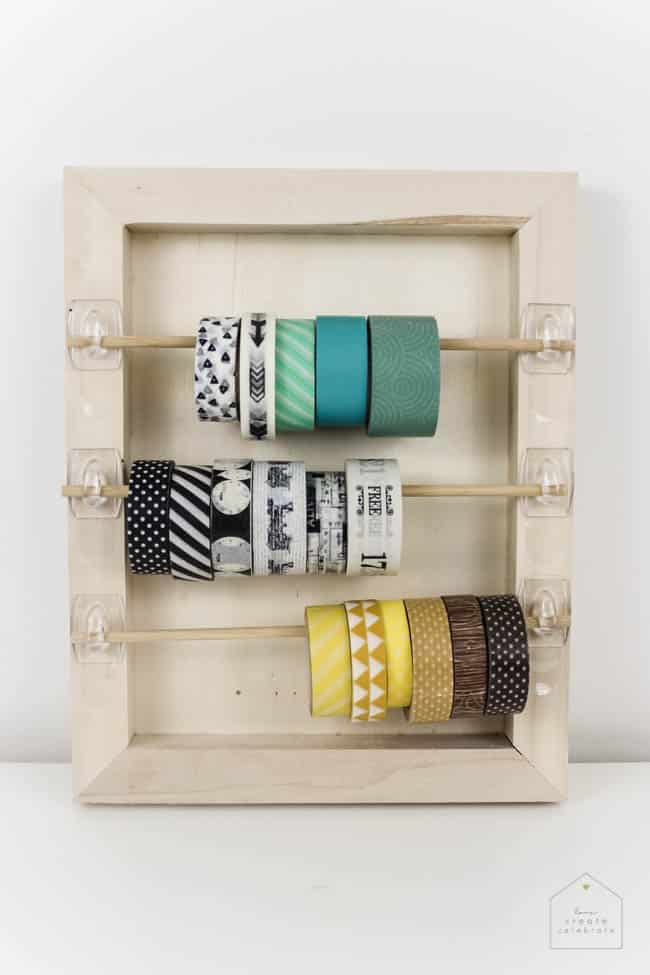
Wooden frame (which I picked up at my local dollar store!)
1/8″ wood dowel
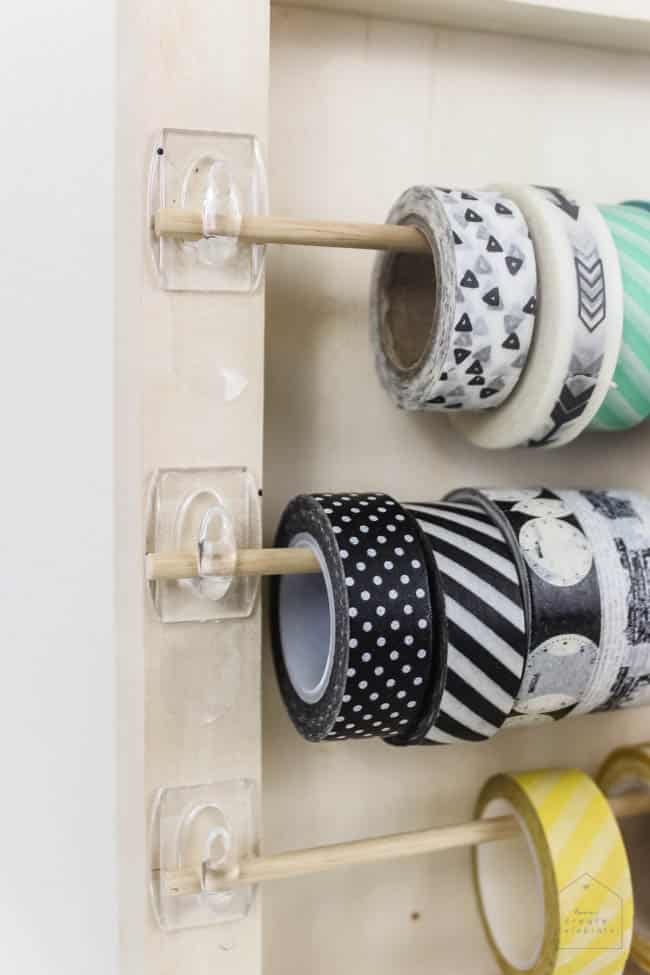
Small, clear command strips
Saw
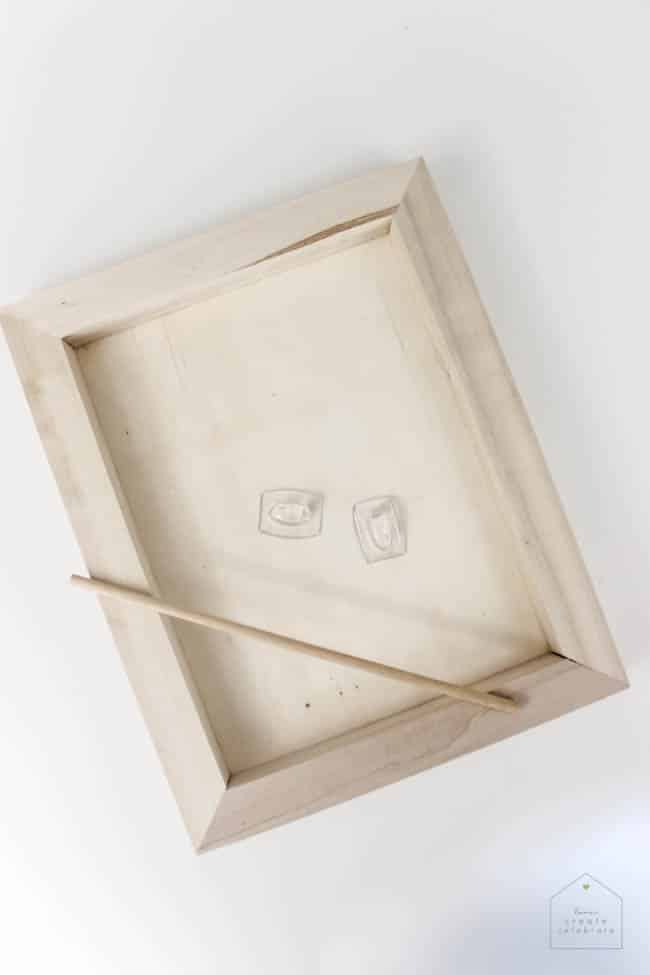
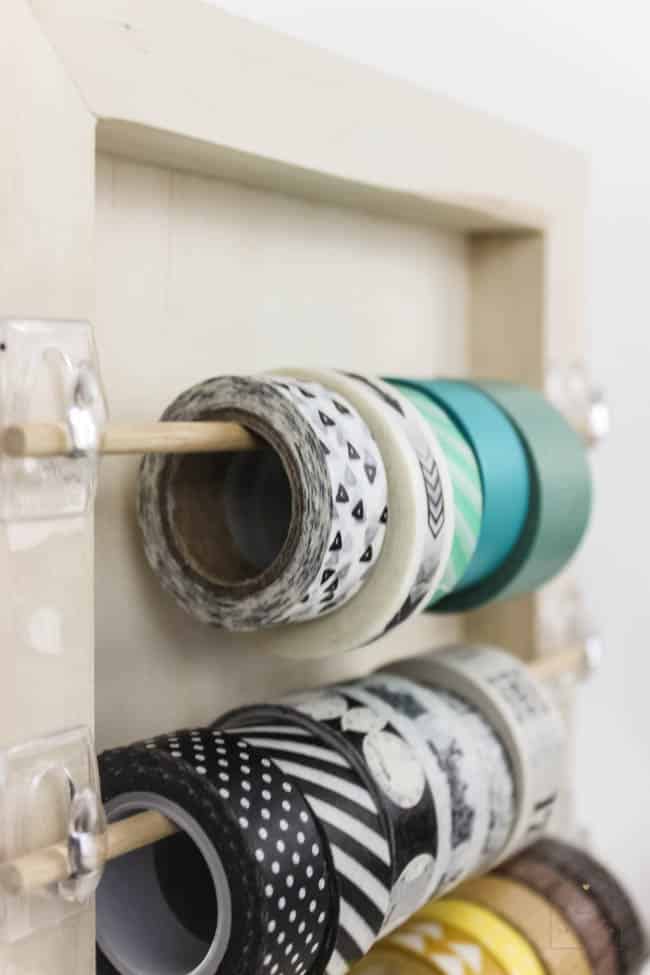
These wooden frames are meant to be canvases, but I decided to flip them over and use the back side. It was the perfect way to make extra space for my washi tape! Start by measuring the width of your wooden frame. Then cut your dowels to that length using a saw – I wanted three rows, so I did this three times.
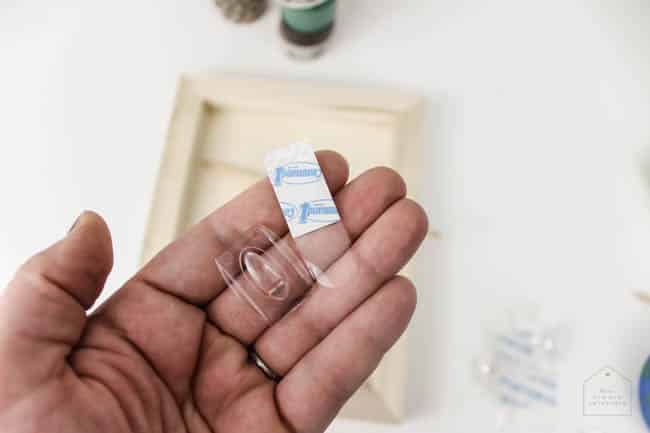
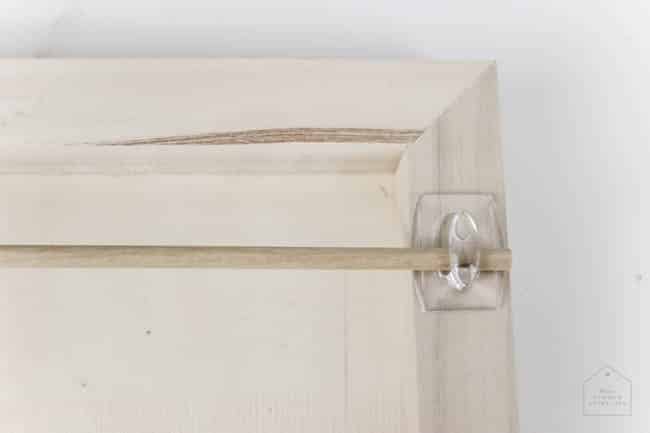
Use a ruler to decide where you want your dowels to sit. I marked those spots with a pencil, and then took the backing off of my command strips and stuck them right onto the edge of the frame. They fit PERFECTLY!
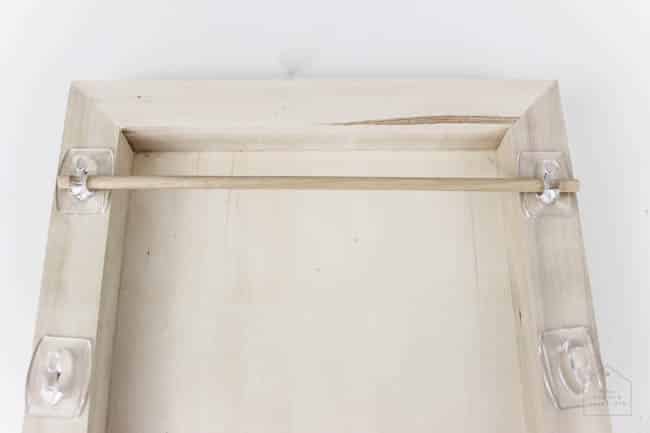
Since you used command strips, the dowels will come on and off easily to allow you to add more rolls, or take off empty ones!
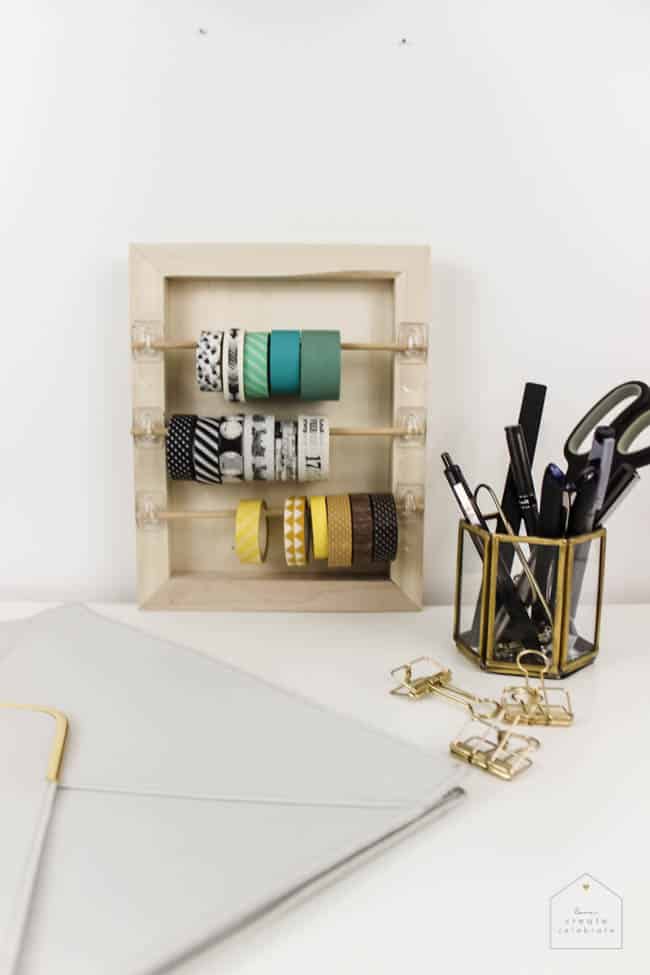
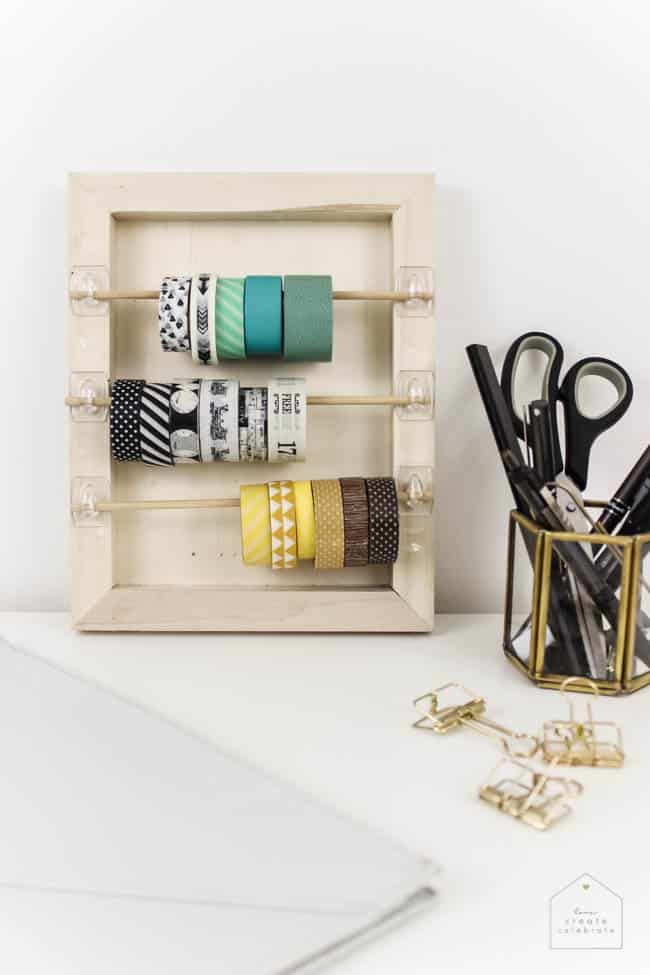
For now it’s angled on my desk – it’s a little front heavy. I’m going to add a hook to the back of it and hang it right on the wall when I get some new office gallery wall ideas :)
I’d love to hear your thoughts in the comments!
Make sure to check out all of the other ladies who are sharing #10MinuteDIYs!
by Brittany Goldwyn // D.N.A. Designs // Grillo Designs // Love Create Celebrate // Pocketful of Posies // Uncookie Cutter


Maggie
Monday 7th of June 2021
This is such a great idea, and I bet you could paint or decoupage the frame before you start!
20 Helpful Ways to Organize Washi Tape
Monday 11th of June 2018
[…] 10 Minute Washi Tape Organizer from lovecreatecelebrate.com – This washi tape organizer uses a wooden frame and takes less than 10 minutes to create. […]
Donna Walker
Thursday 1st of March 2018
love the washi tape idea .... that is just what I have been looking for .... Thank you so much .... can't wait to try it ...
5 ways to display & organise your washi tape collection - The Paperdashery
Monday 20th of February 2017
[…] this cute DIY washi tape organiser in under 10 […]
Tanya Van Niejenhuis
Thursday 26th of January 2017
Super practical and quick! I'm wondering if you have any tips for organizing and storing vinyl?
Lindivs
Thursday 26th of January 2017
Right now I have it all in a bin inside of the mauve office console I made! The bin is pretty! Haha. But I need a new method one day so that I can see all of my colours :)