
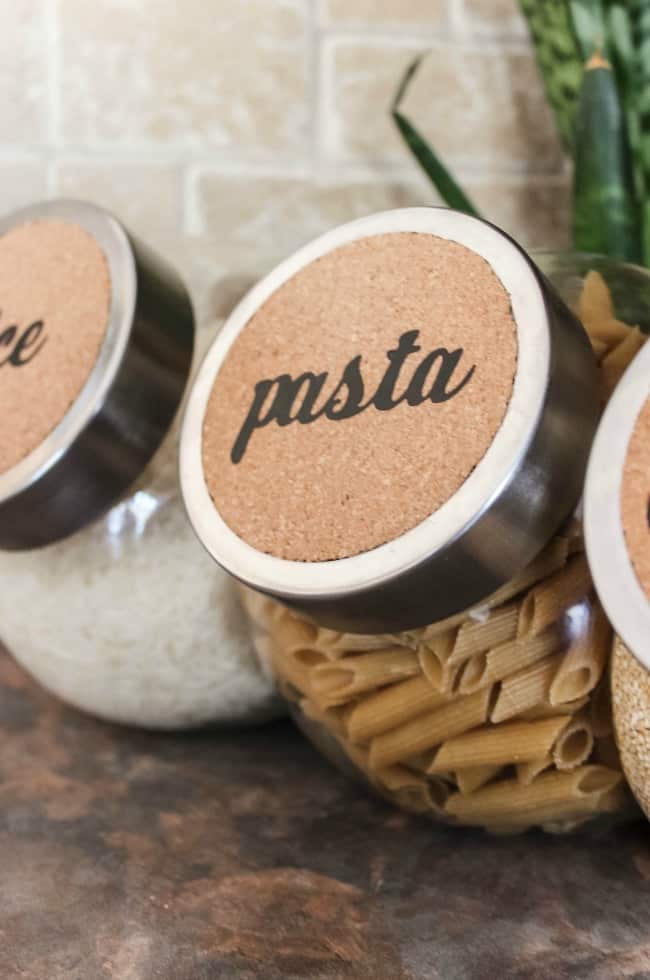
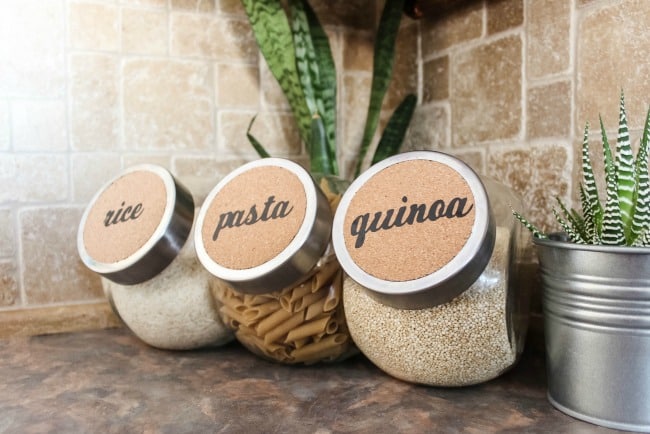
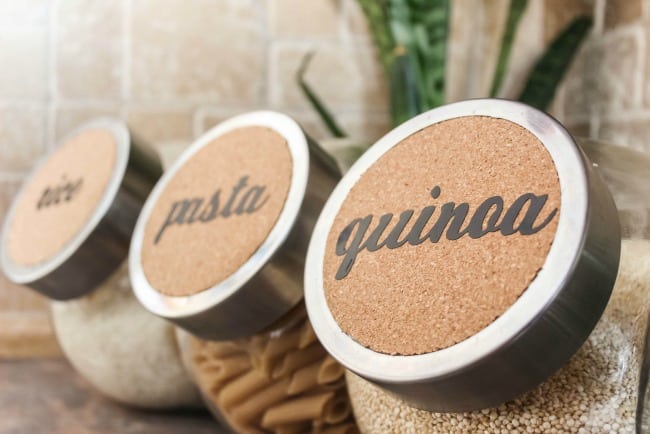
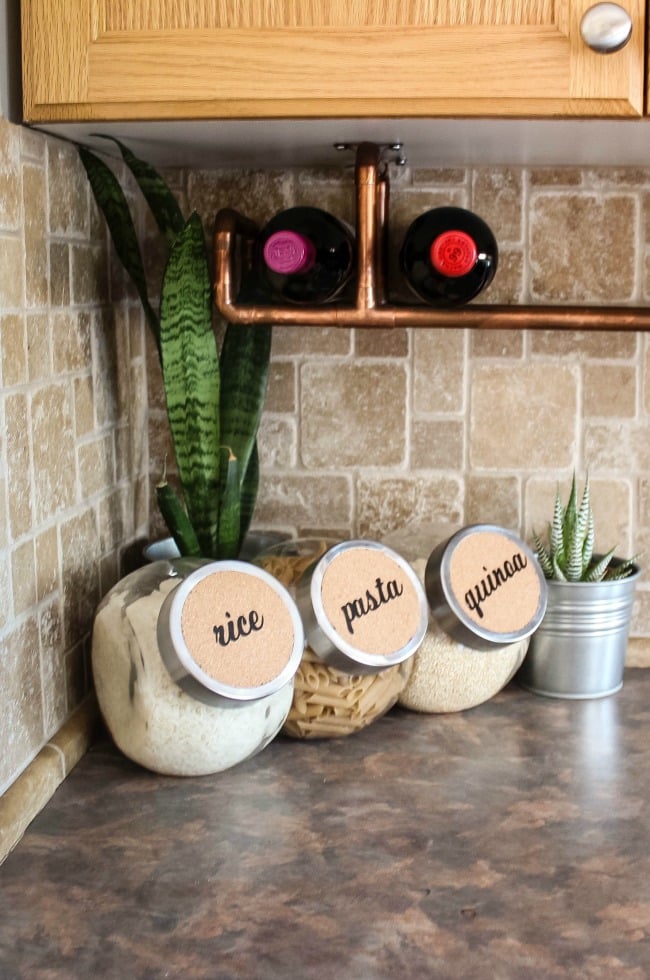
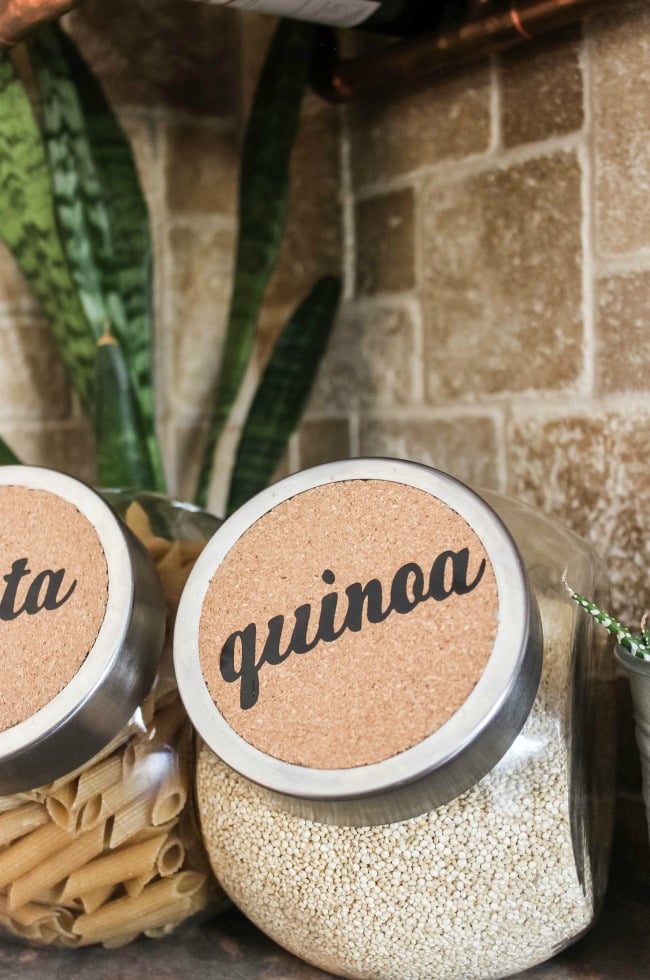
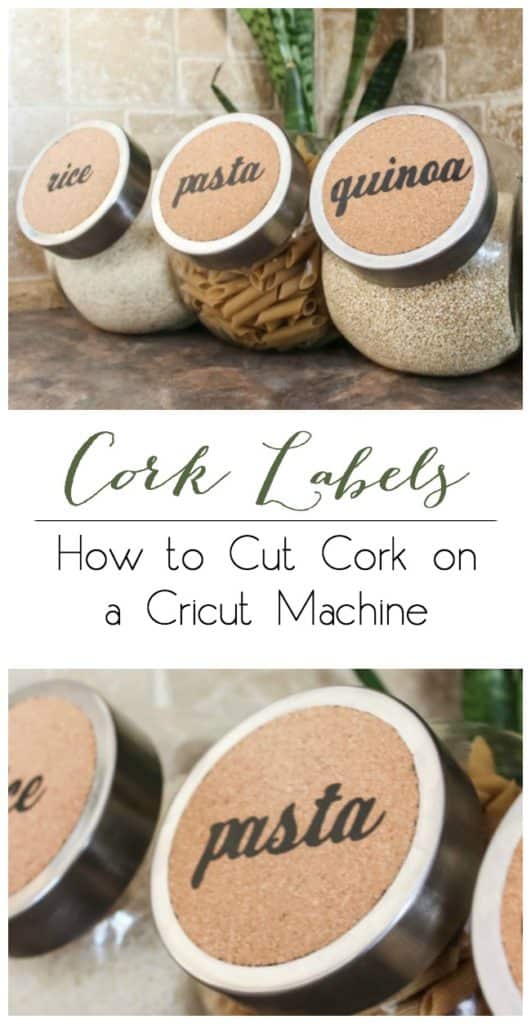
Do you ever shop at the dollar store? I seriously LOVE going there. Dollar store’s always chock full of cheap products that you can make into chic decor! Like these glass vases, these bins, and these popsicle sticks. When I found the glass containers in this post, I knew immediately that I could spruce them up! And since my Cricut can cut almost anything, I decided it was finally time to test out my cork cutting skills!
*This post was sponsored by Cricut. Thank you for supporting Love Create Celebrate. For more information, please read my disclosure policy.*
I have used the Cricut to cut a ton of different materials over the years, some of which I will share at the end of this post. But one that I hadn’t tried yet was cork! And it wasn’t as easy as I thought it would be, until I figured out the perfect trick!
Materials:
Cork
Cricut Explore Air™ 2 machine
Vinyl
Dollar Store Glass container
Transfer Tape
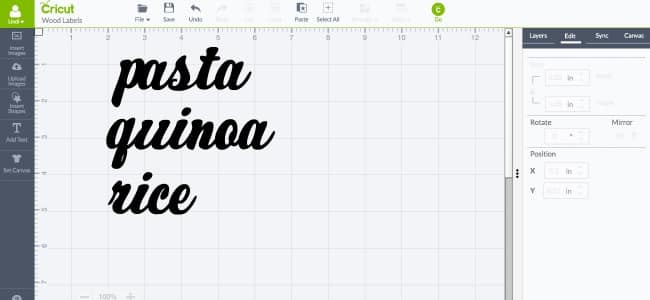
I started by planning out my design on the Cricut. You can use my design at this link!
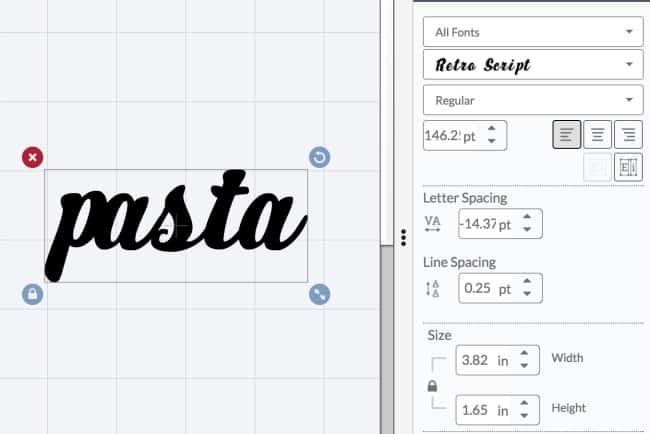
I wrote the words I wanted with the font “Retro Script” and sized them so that they would fit across the lid of my jars nicely (my jars were 4″ in diameter). I also decreased the letter spacing – see the negative number above – so that the letters would flow beautifully together like real script.
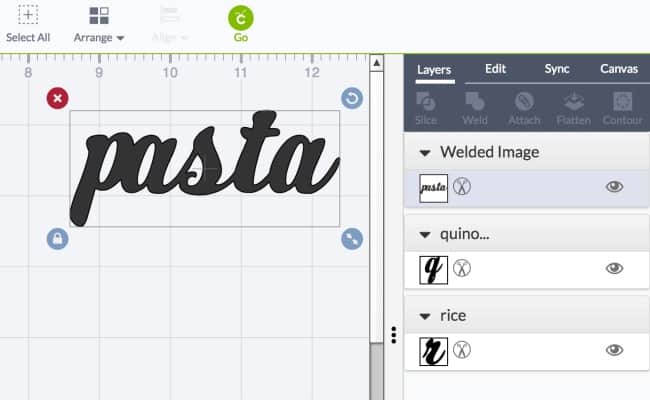
Finally, I highlighted the word and clicked “weld” to weld the word together so that the cricut would cut them in one motion.
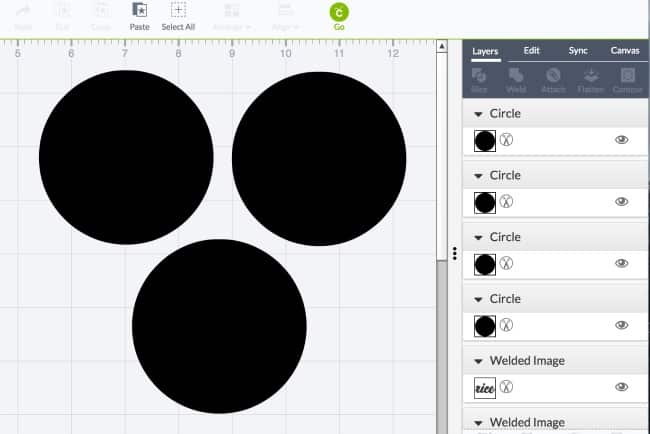
Finally, I had to set up my cork cut. I decided to make perfect circles, because I knew that they would cut the nicest. I tried a couple of cuts and the cricut just ripped my cork apart – whoops! So I switched to a different cork, like this one, that was light, and had very small grains of cork. That way, if the Cricut grabbed at a grain when it cut, the final cut would still look fairly even. I also also added transfer tape underneath the cork, to stiffen it up, so that the cut would be straighter. It all worked perfectly! Almost perfect cork circles! [see an example of using transfer tape here]
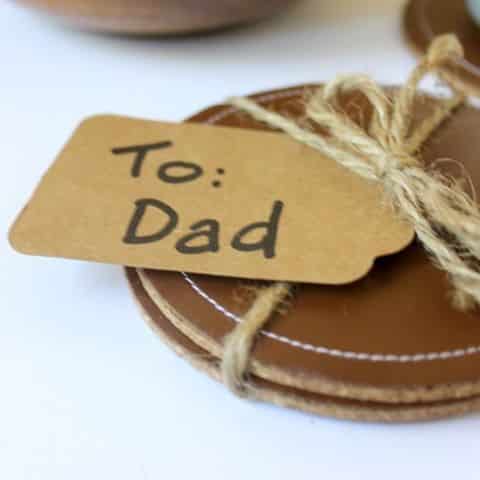
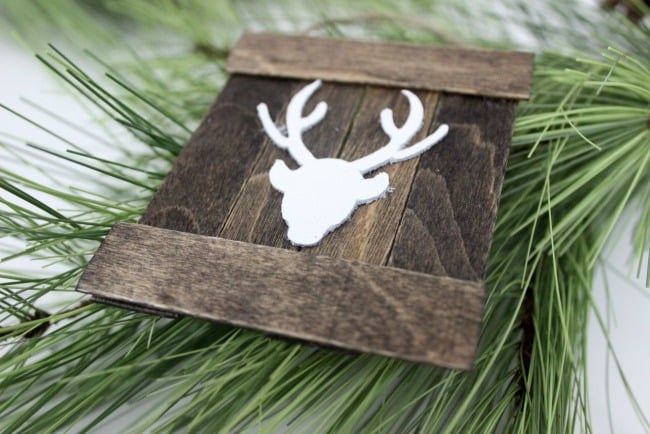
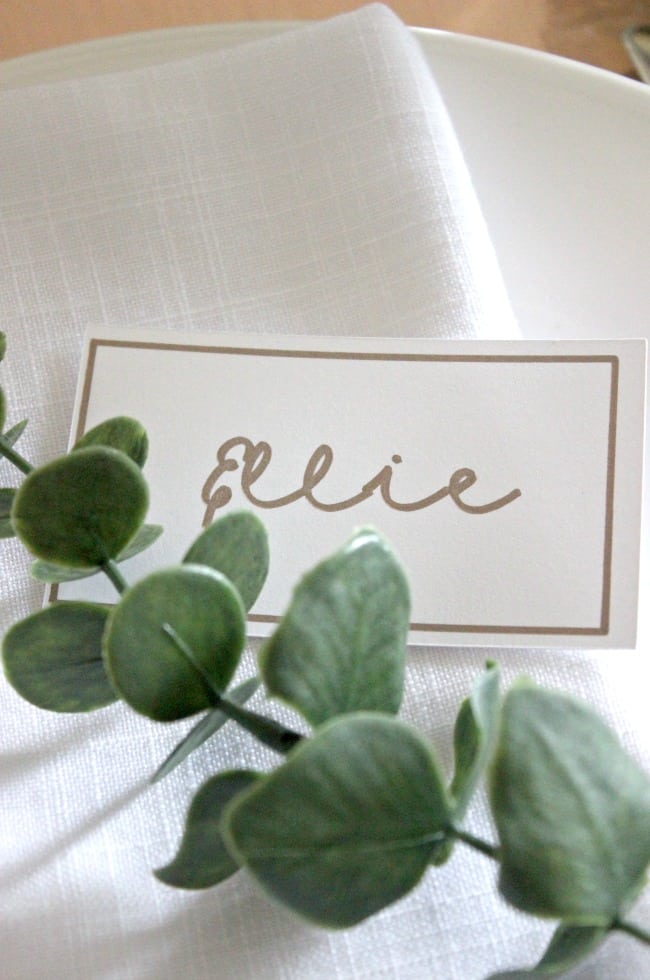
As promised, here are a few more amazing materials I have cut using the Cricut Explore AIr 2!


This is a sponsored conversation written by me on behalf of Cricut. The opinions and text are all mine.
35 Inspiring Projects by Cricut Makers - Lydi Out Loud
Tuesday 22nd of October 2019
[…] Love Create Celebrate […]
Welder smarter
Thursday 12th of April 2018
This is one of the best Cricut Projects. i like it.
The Best Cricut Projects
Thursday 8th of March 2018
[…] Love Create Celebrate created some cork labels for the kitchen. Make things a bit more organized and tidier in the home by making some labels to fit all the nooks and crannies. We loved these designs especially, and they make for great inspiration for other tasks inside the house. […]