
Make your own DIY Metallic Labels in 5 minutes with this step by step tutorial! The perfect addition to your home crafting needs!
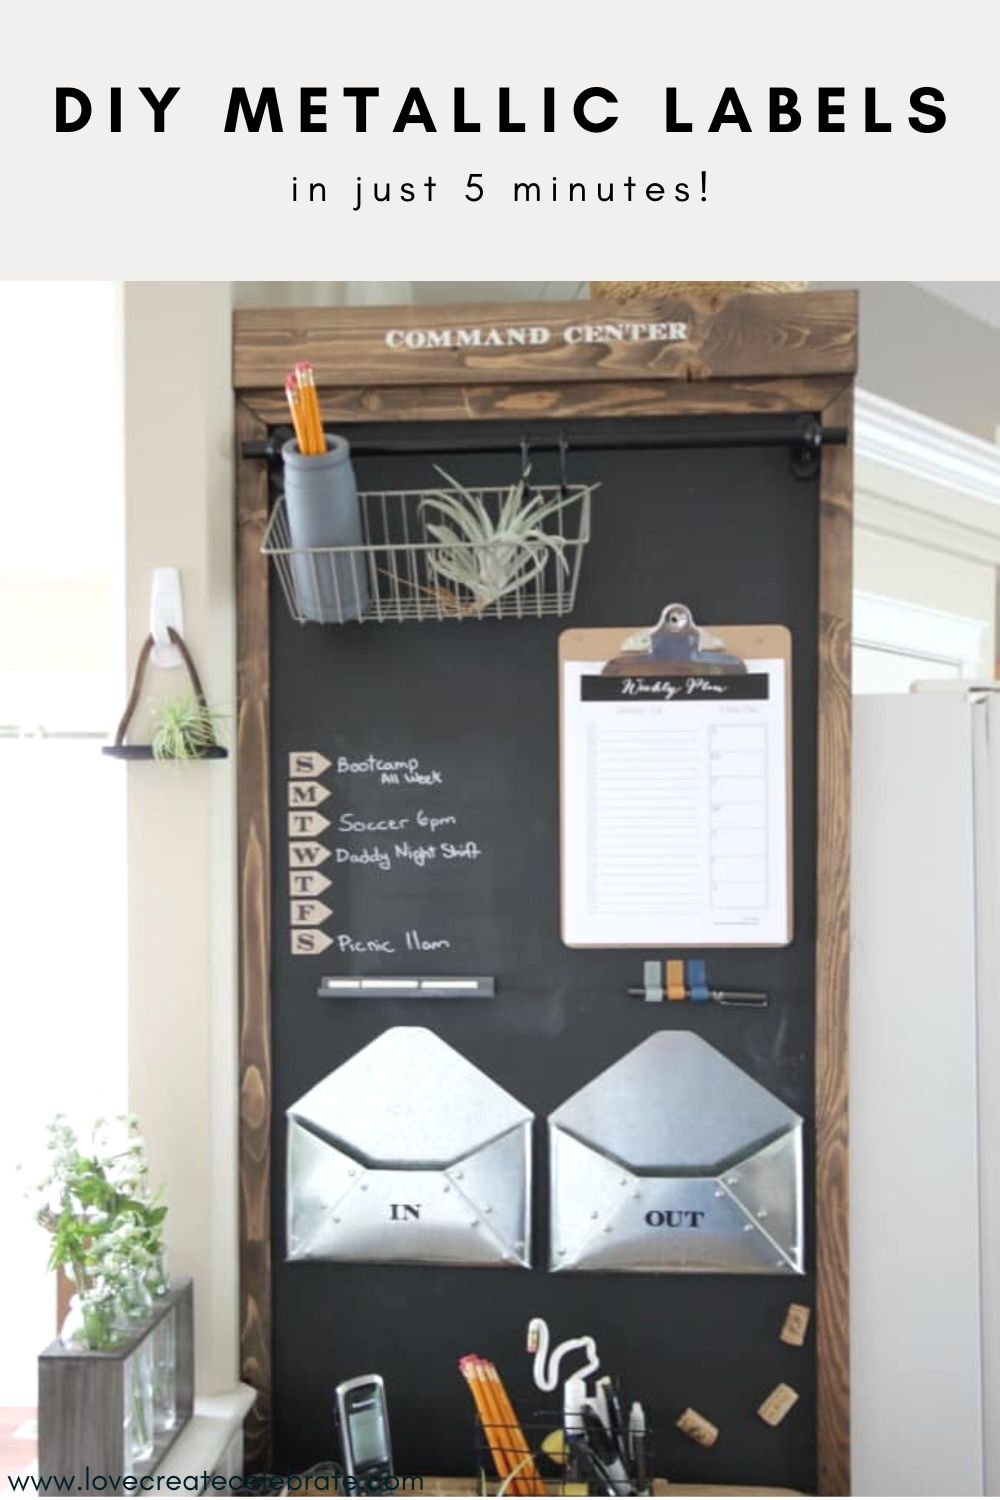
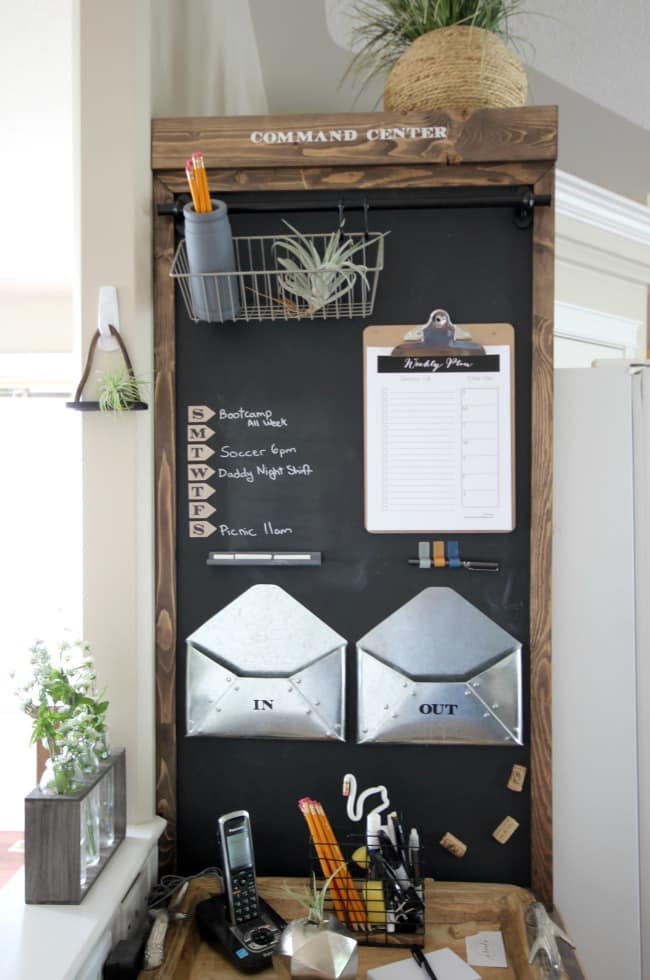
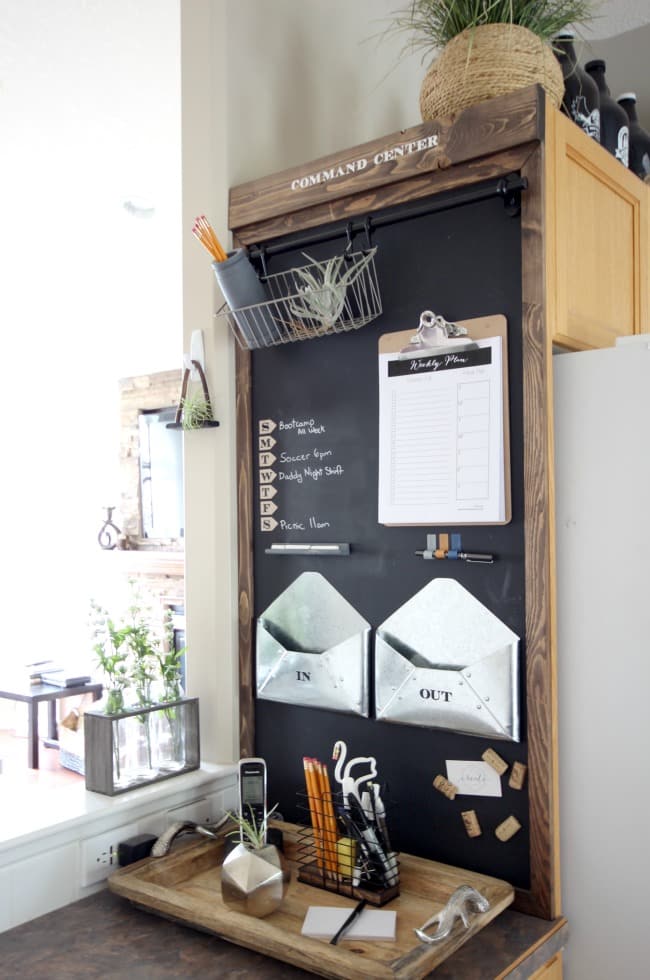
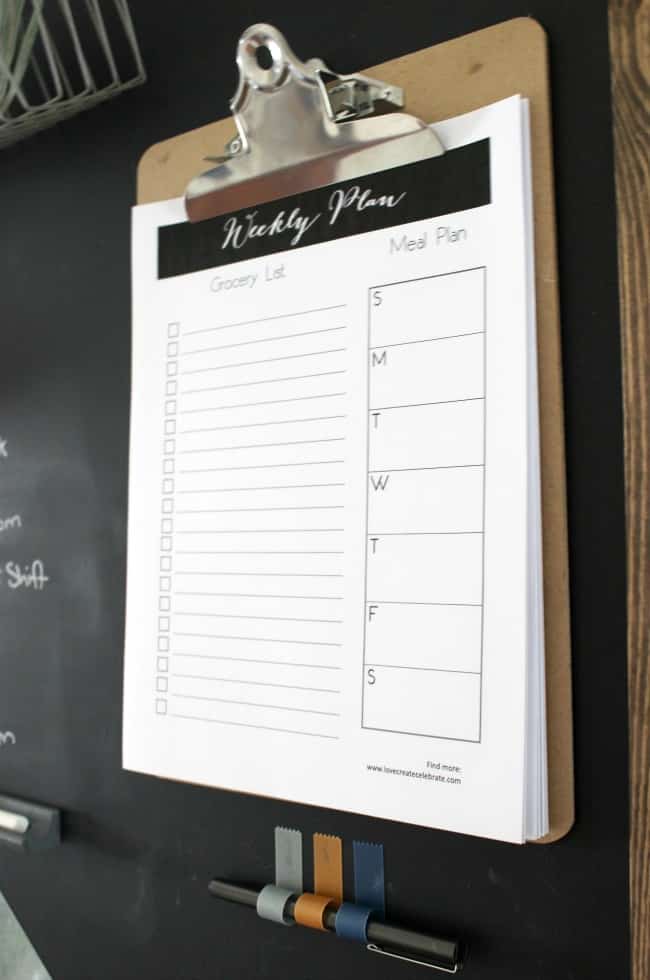
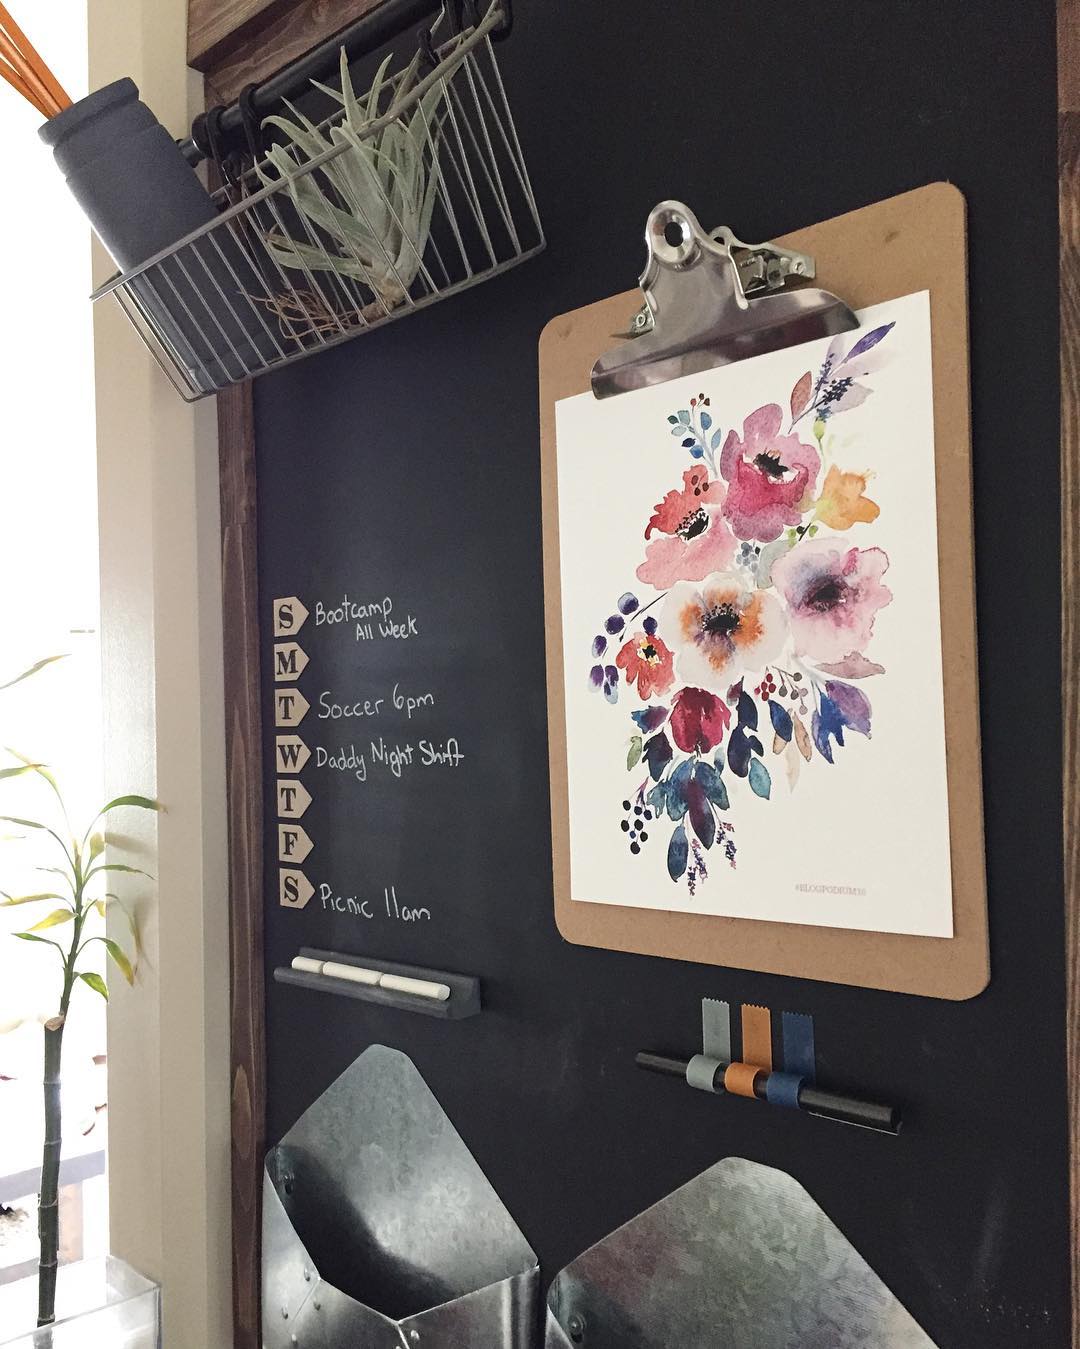
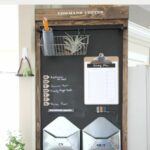
If you haven’t seen my Industrial Command Center Reveal, or how my tutorial on how to make a Magnetic Chalkboard, hop on over to see those before you check out this post! In only 5 minutes I made some great metallic and vinyl labels. Today I’m sharing how to make your own DIY Metallic Labels for anything in your home!
*Materials were provided by Spellbinders and Beacon Adhesives to Love Create Celebrate for free to complete this post. The post may contain affiliate links. For more information, please read my disclosure policy.*
How to Make Your DIY Metallic Labels
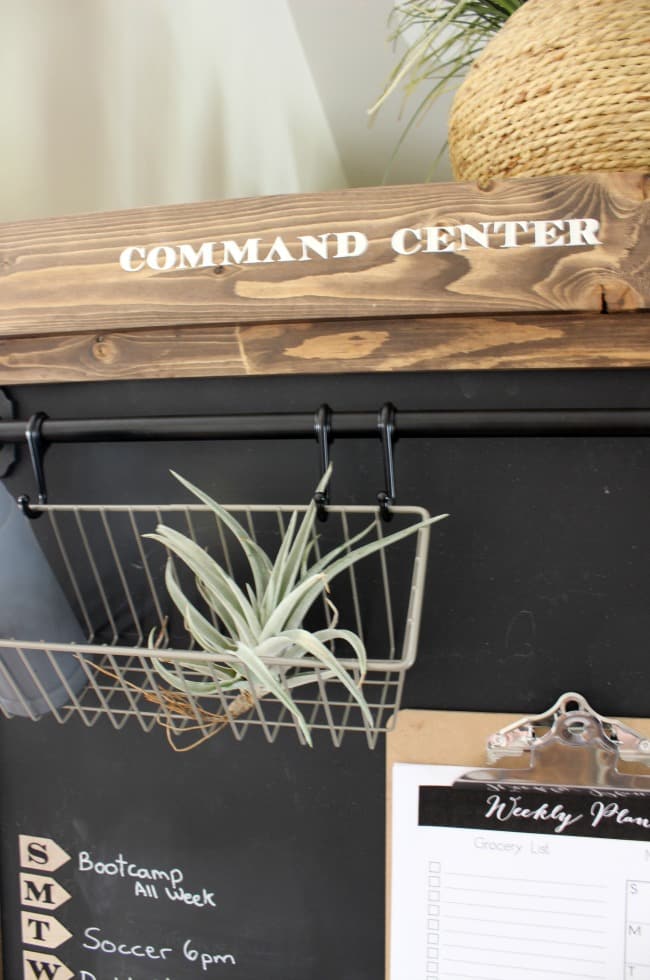
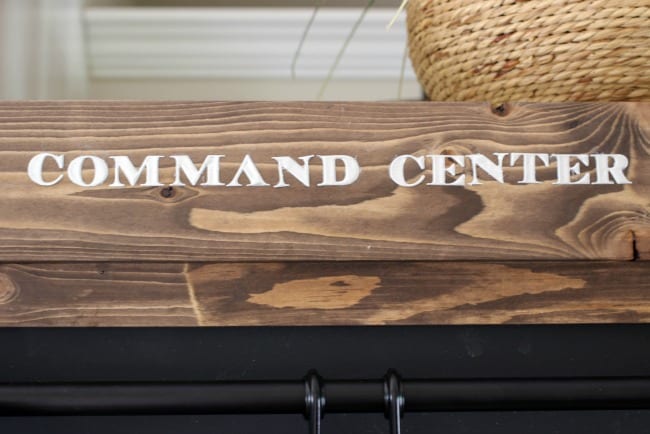
We built the frame for this piece with a lip at the top because I knew I wanted to add the words “command center” to it. The only problem was that I wasn’t sure how to add the title. I was worried about painting them over the stain (seeping, sloppy painting and all that jazz!) and didn’t think the vinyl would stand out enough. When I saw this craft metal from Spellbinders it was as if a lightbulb went off! Metal labels! Of course!!!
Materials:
Silver Craft Metal
Platinum 6 Machine
Alphabet Die Cuts
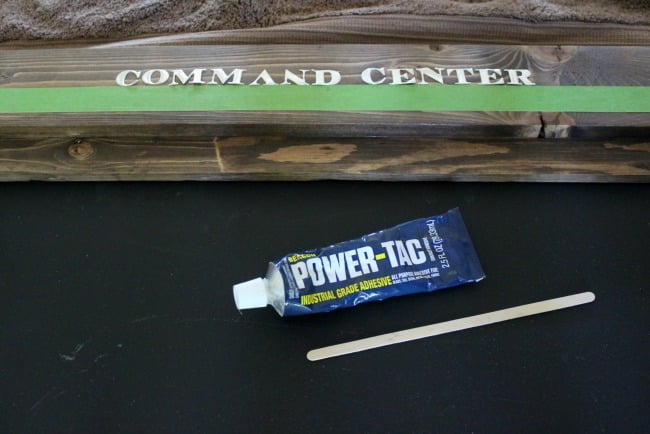
Power Tac Glue
Black Vinyl (for vinyl labels)
Step-By-Step Tutorial for Your DIY Metallic Letters
The Spellbinders Platinum 6 Machine can cut so many materials, but the craft metal might be one of my favourites! Did you even know craft metal existed? Consider yourself enlightened. lol. You’re welcome.
To make the DIY metallic labels you need some craft metal as well as the Platinum 6 machine and the alphabet die-cuts. Just choose the letters that you want to cut out, place them over top of the craft metal and run them through the Platinum 6 machine.
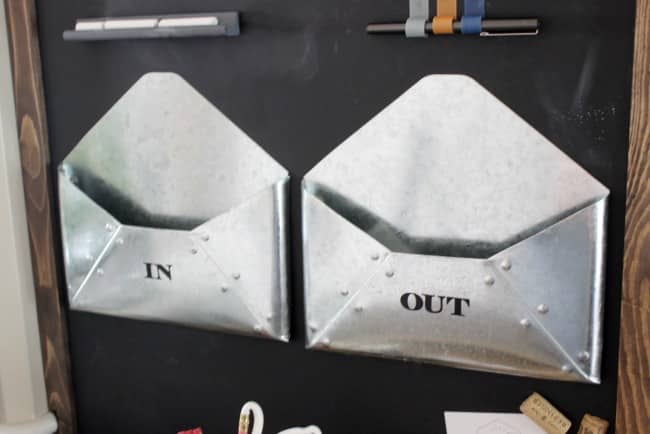
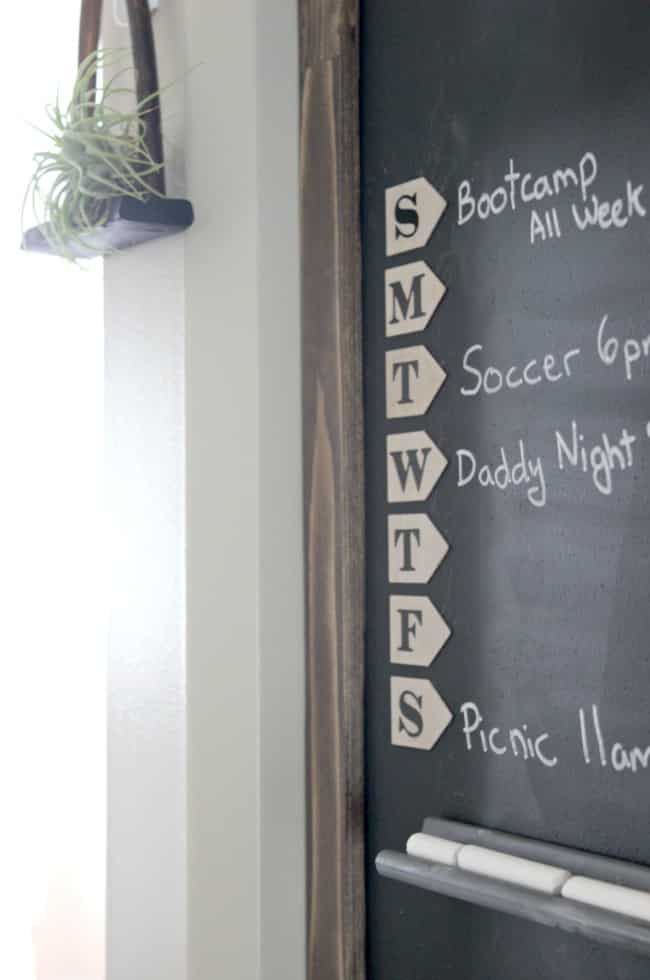
You can make easy vinyl labels exactly the same way. Use the alphabet die cut, a piece of sticky vinyl and a platinum 6 machine.
After I cut out the letters, I attached the metal letters. I didn’t want to use a glue gun, and you can hear why in the video below. Beacon Power Tac Glue was perfect for the job!
All you have to do to attach the vinyl label is peel off the backing.
Watch this quick video tutorial to see how easy these DIY metallic labels are to make!

More Command Center Projects
Don’t forget to subscribe to our YouTube channel for more great DIYs!
Find more great Command Center details in the links below:

From top left to bottom right:
How to Magnetize Heavy Objects
How to Build a Magnetic Chalkboard

DIY Metallic Labels
Make your own easy Metallic Labels in only five minutes! You will want to use craft metal for every craft after you see this quick DIY idea!
Materials
- Silver craft metal
- Platinum 6 machine
- Alphabet die cuts
- Power tac glue
- Black vinyl
Instructions
- Choose the letters you want to cut out from the alphabet die-cuts
- Place the letters over top of the craft metal and run them through the Platinum 6 machine (for vinyl labels, use the alphabet die cut, a piece of sticky vinyl and a platinum 6 machine)
- Attach the metal letters using a craft glue (for vinyl, peel off the backing)


katie
Friday 16th of June 2017
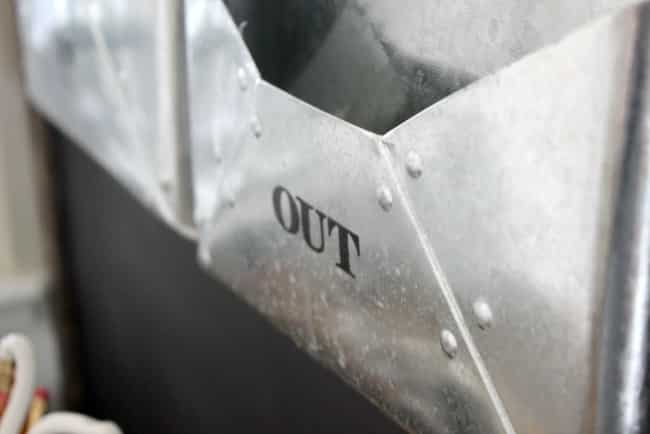
How did you make your metal envelopes?
Lindivs
Friday 16th of June 2017
I wish I made them! I actually purchased them at Target :) I saw them online recently so you may still be able to order them!