
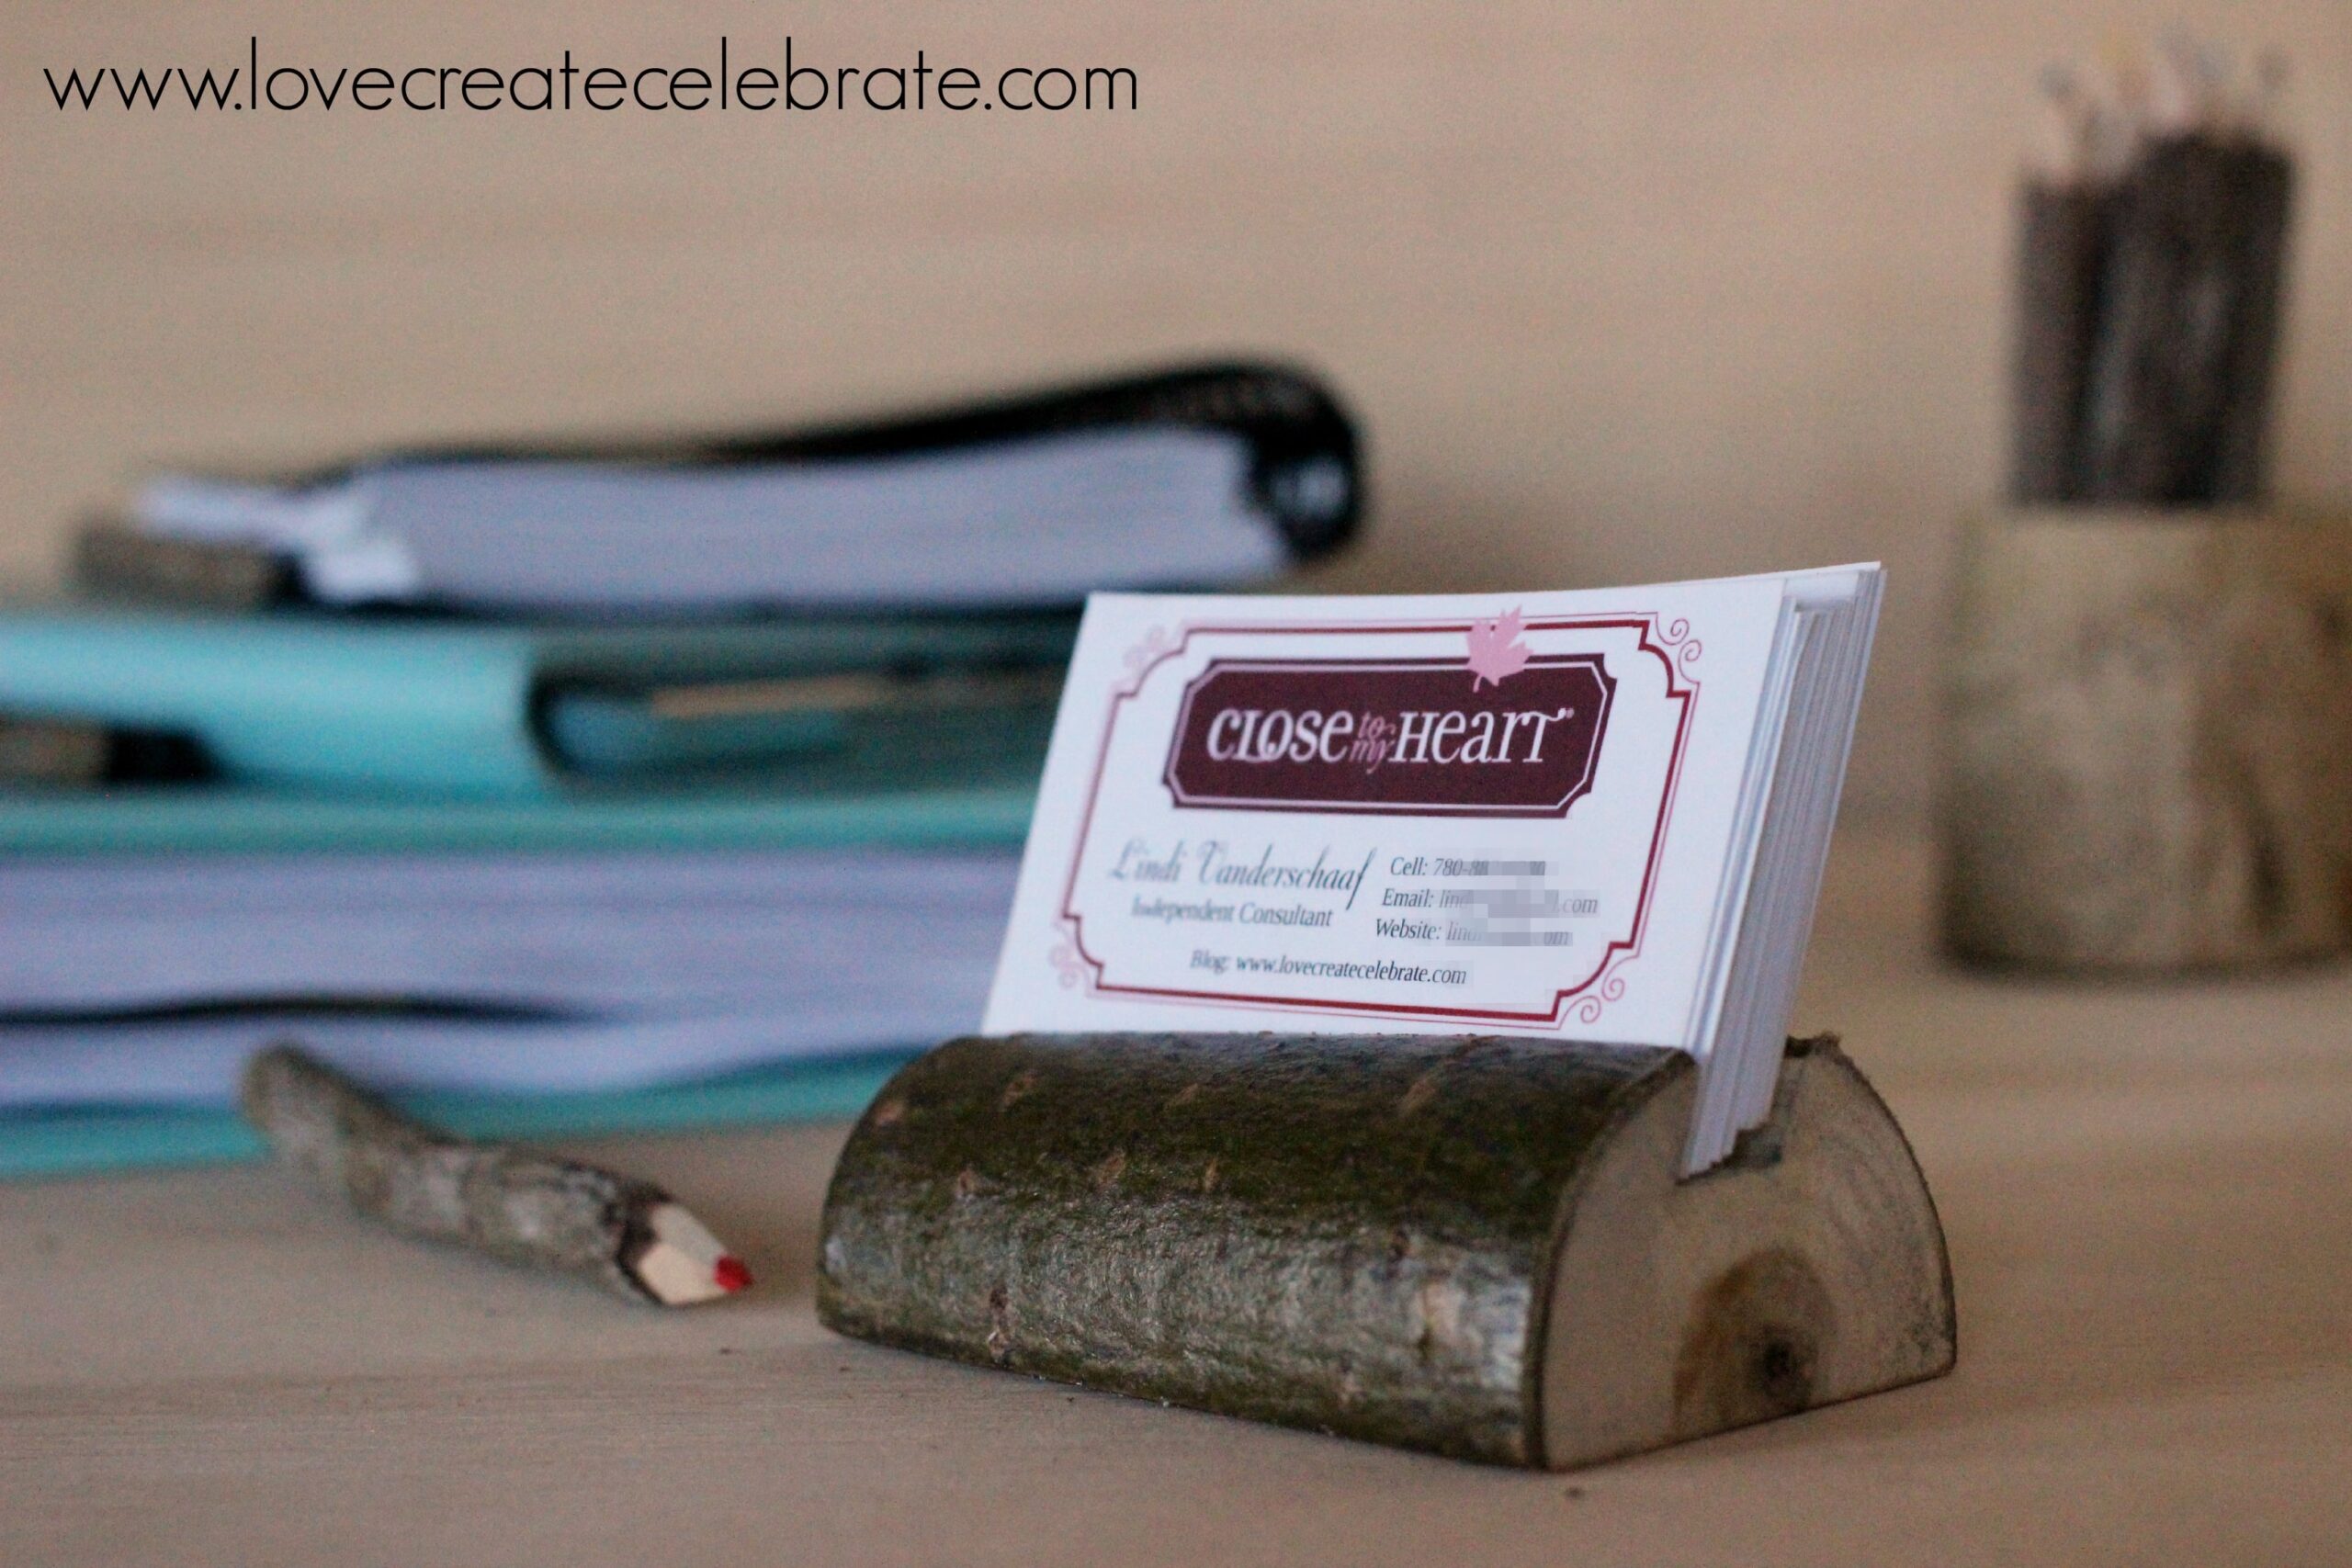
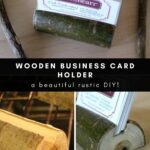
Beautiful DIY Wooden Business Card Holder! Use a wooden log to make your own custom rustic business card holder!
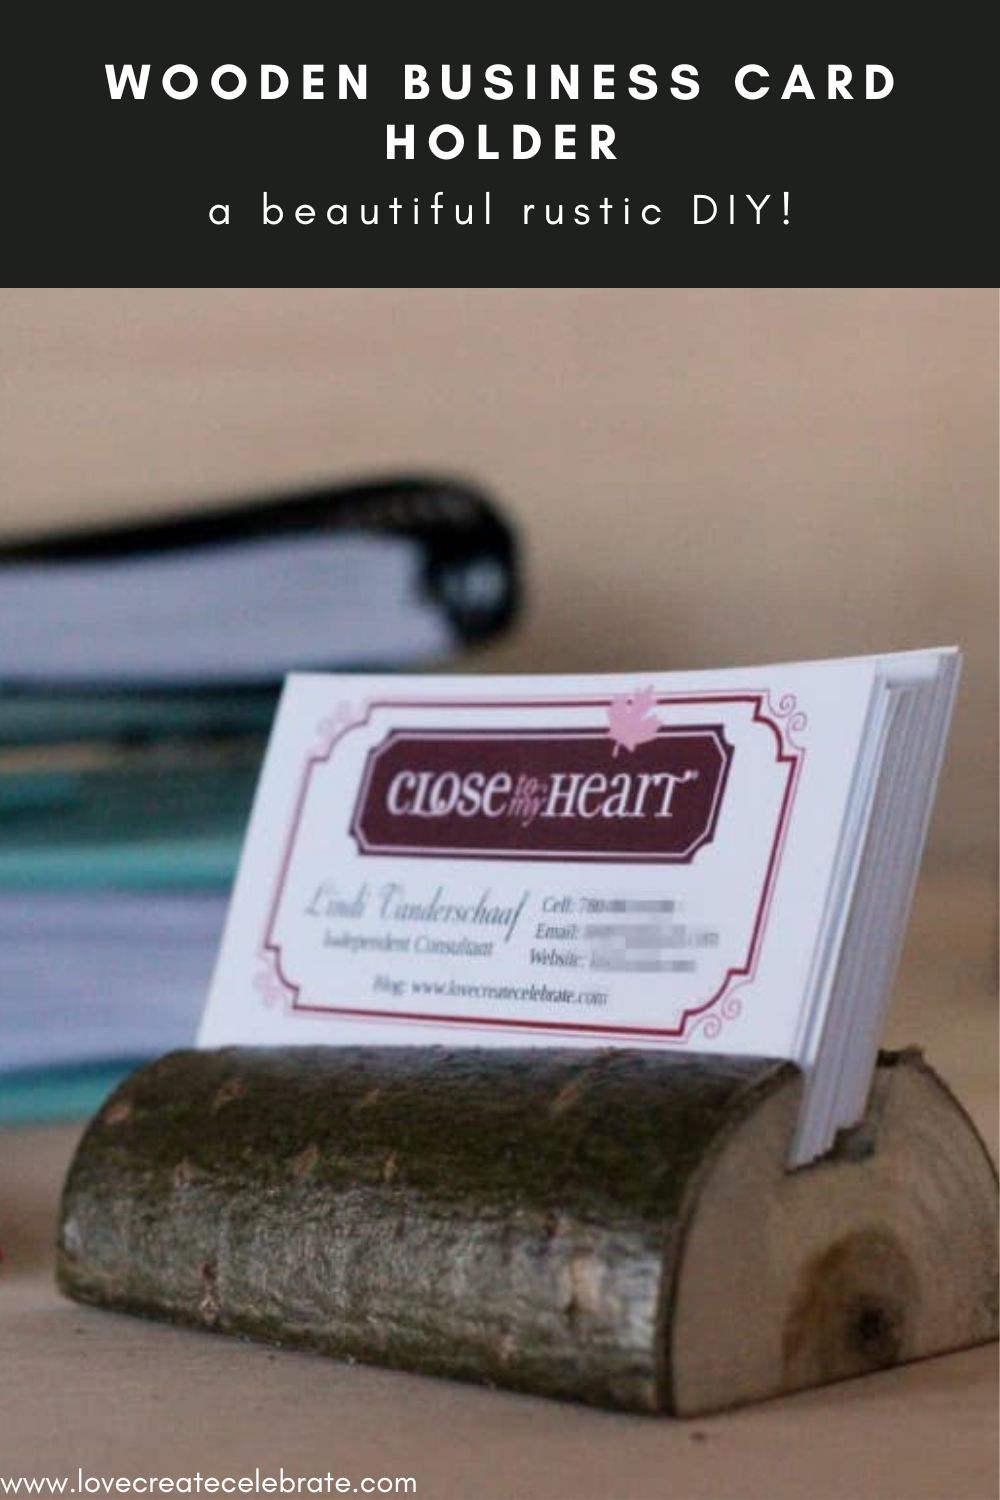
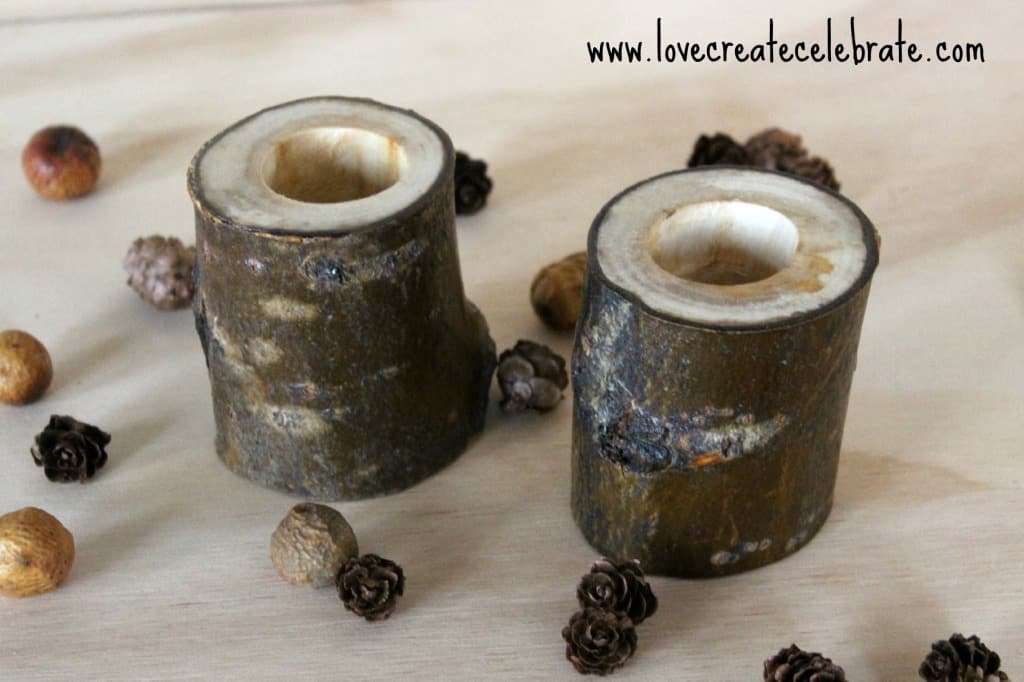
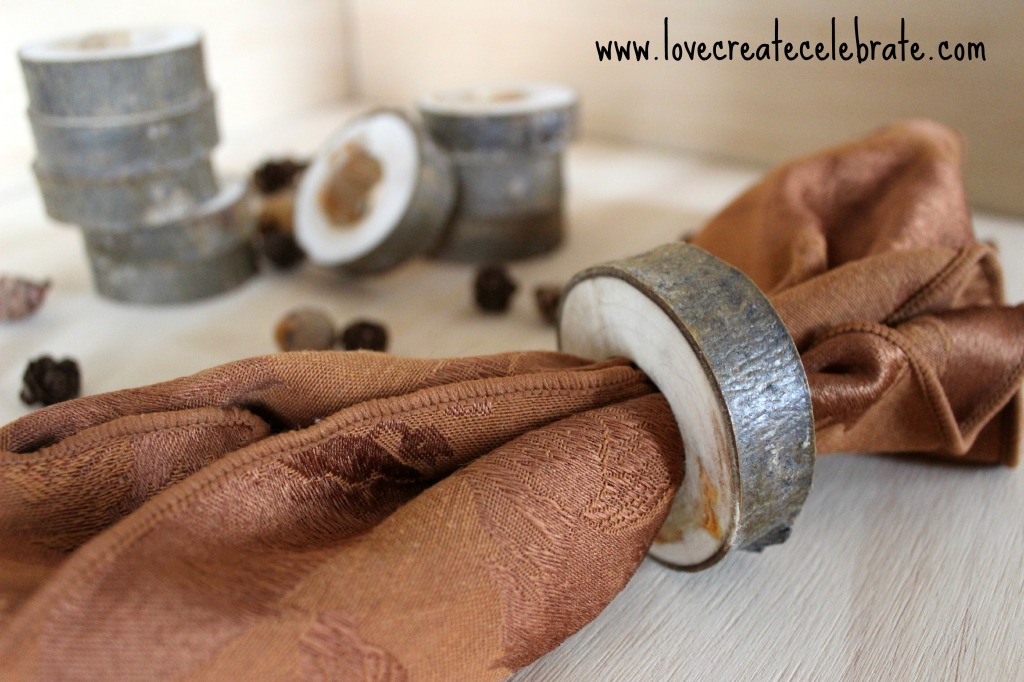
In case you haven’t noticed… I’m slightly obsessed with creating my own custom rustic pieces. Last year we picked up ONE old wooden branch, and I (with the help of my handy husband!) have turned that branch into four amazing, rustic projects! (see projects at the bottom of the post). Today I’m sharing the amazing, rustic wooden business card holder that my husband whipped up for me one evening :) Is there anything you’d rather have on your work desk?!
How to Make Your Wooden Business Card Holder
Materials Needed
- Branch (approx. 3 inches in diameter)
- Business Card
- Pencil
- Mitre Saw
- Table Saw
- Bandsaw
- Sandpaper (50 grit)
- Clear acrylic sealer
- Oven (optional)
Step-By-Step Tutorial for Your Wooden Business Card Holder
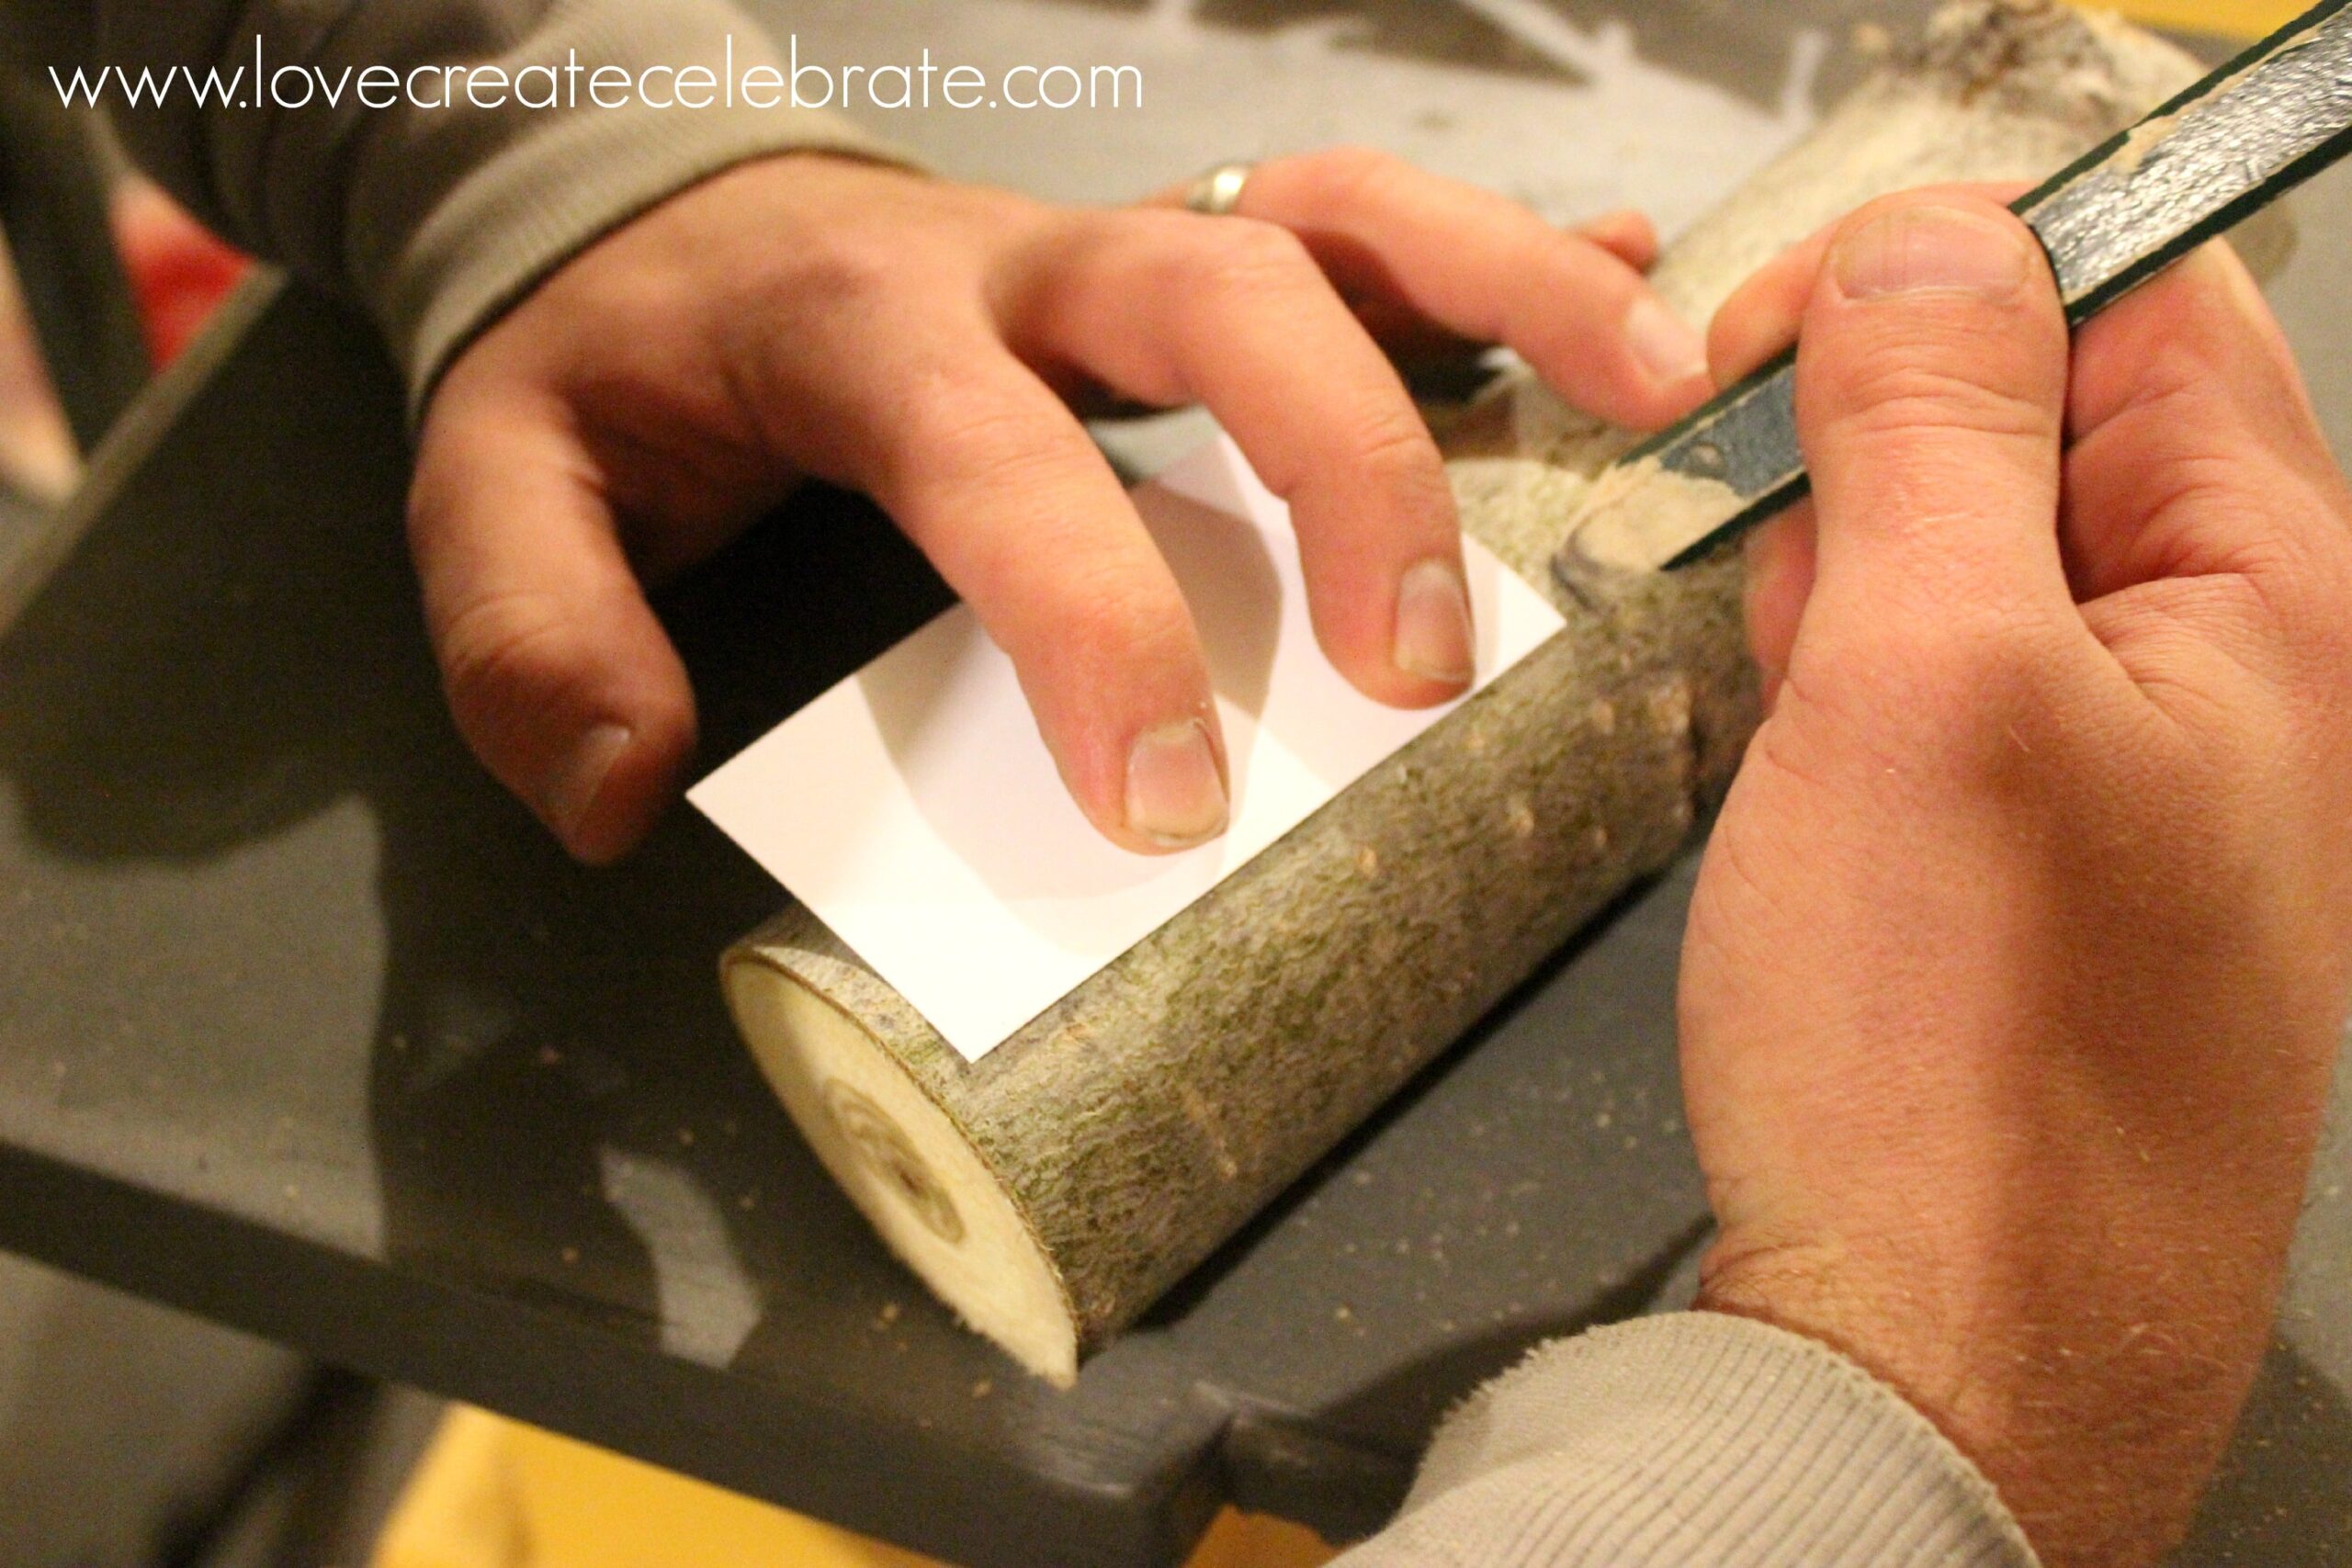
To begin, grab your business card and measure it lengthwise along your branch. Decide how much space you want on either side of the card, and draw a line to cut across for the length of your card holder.
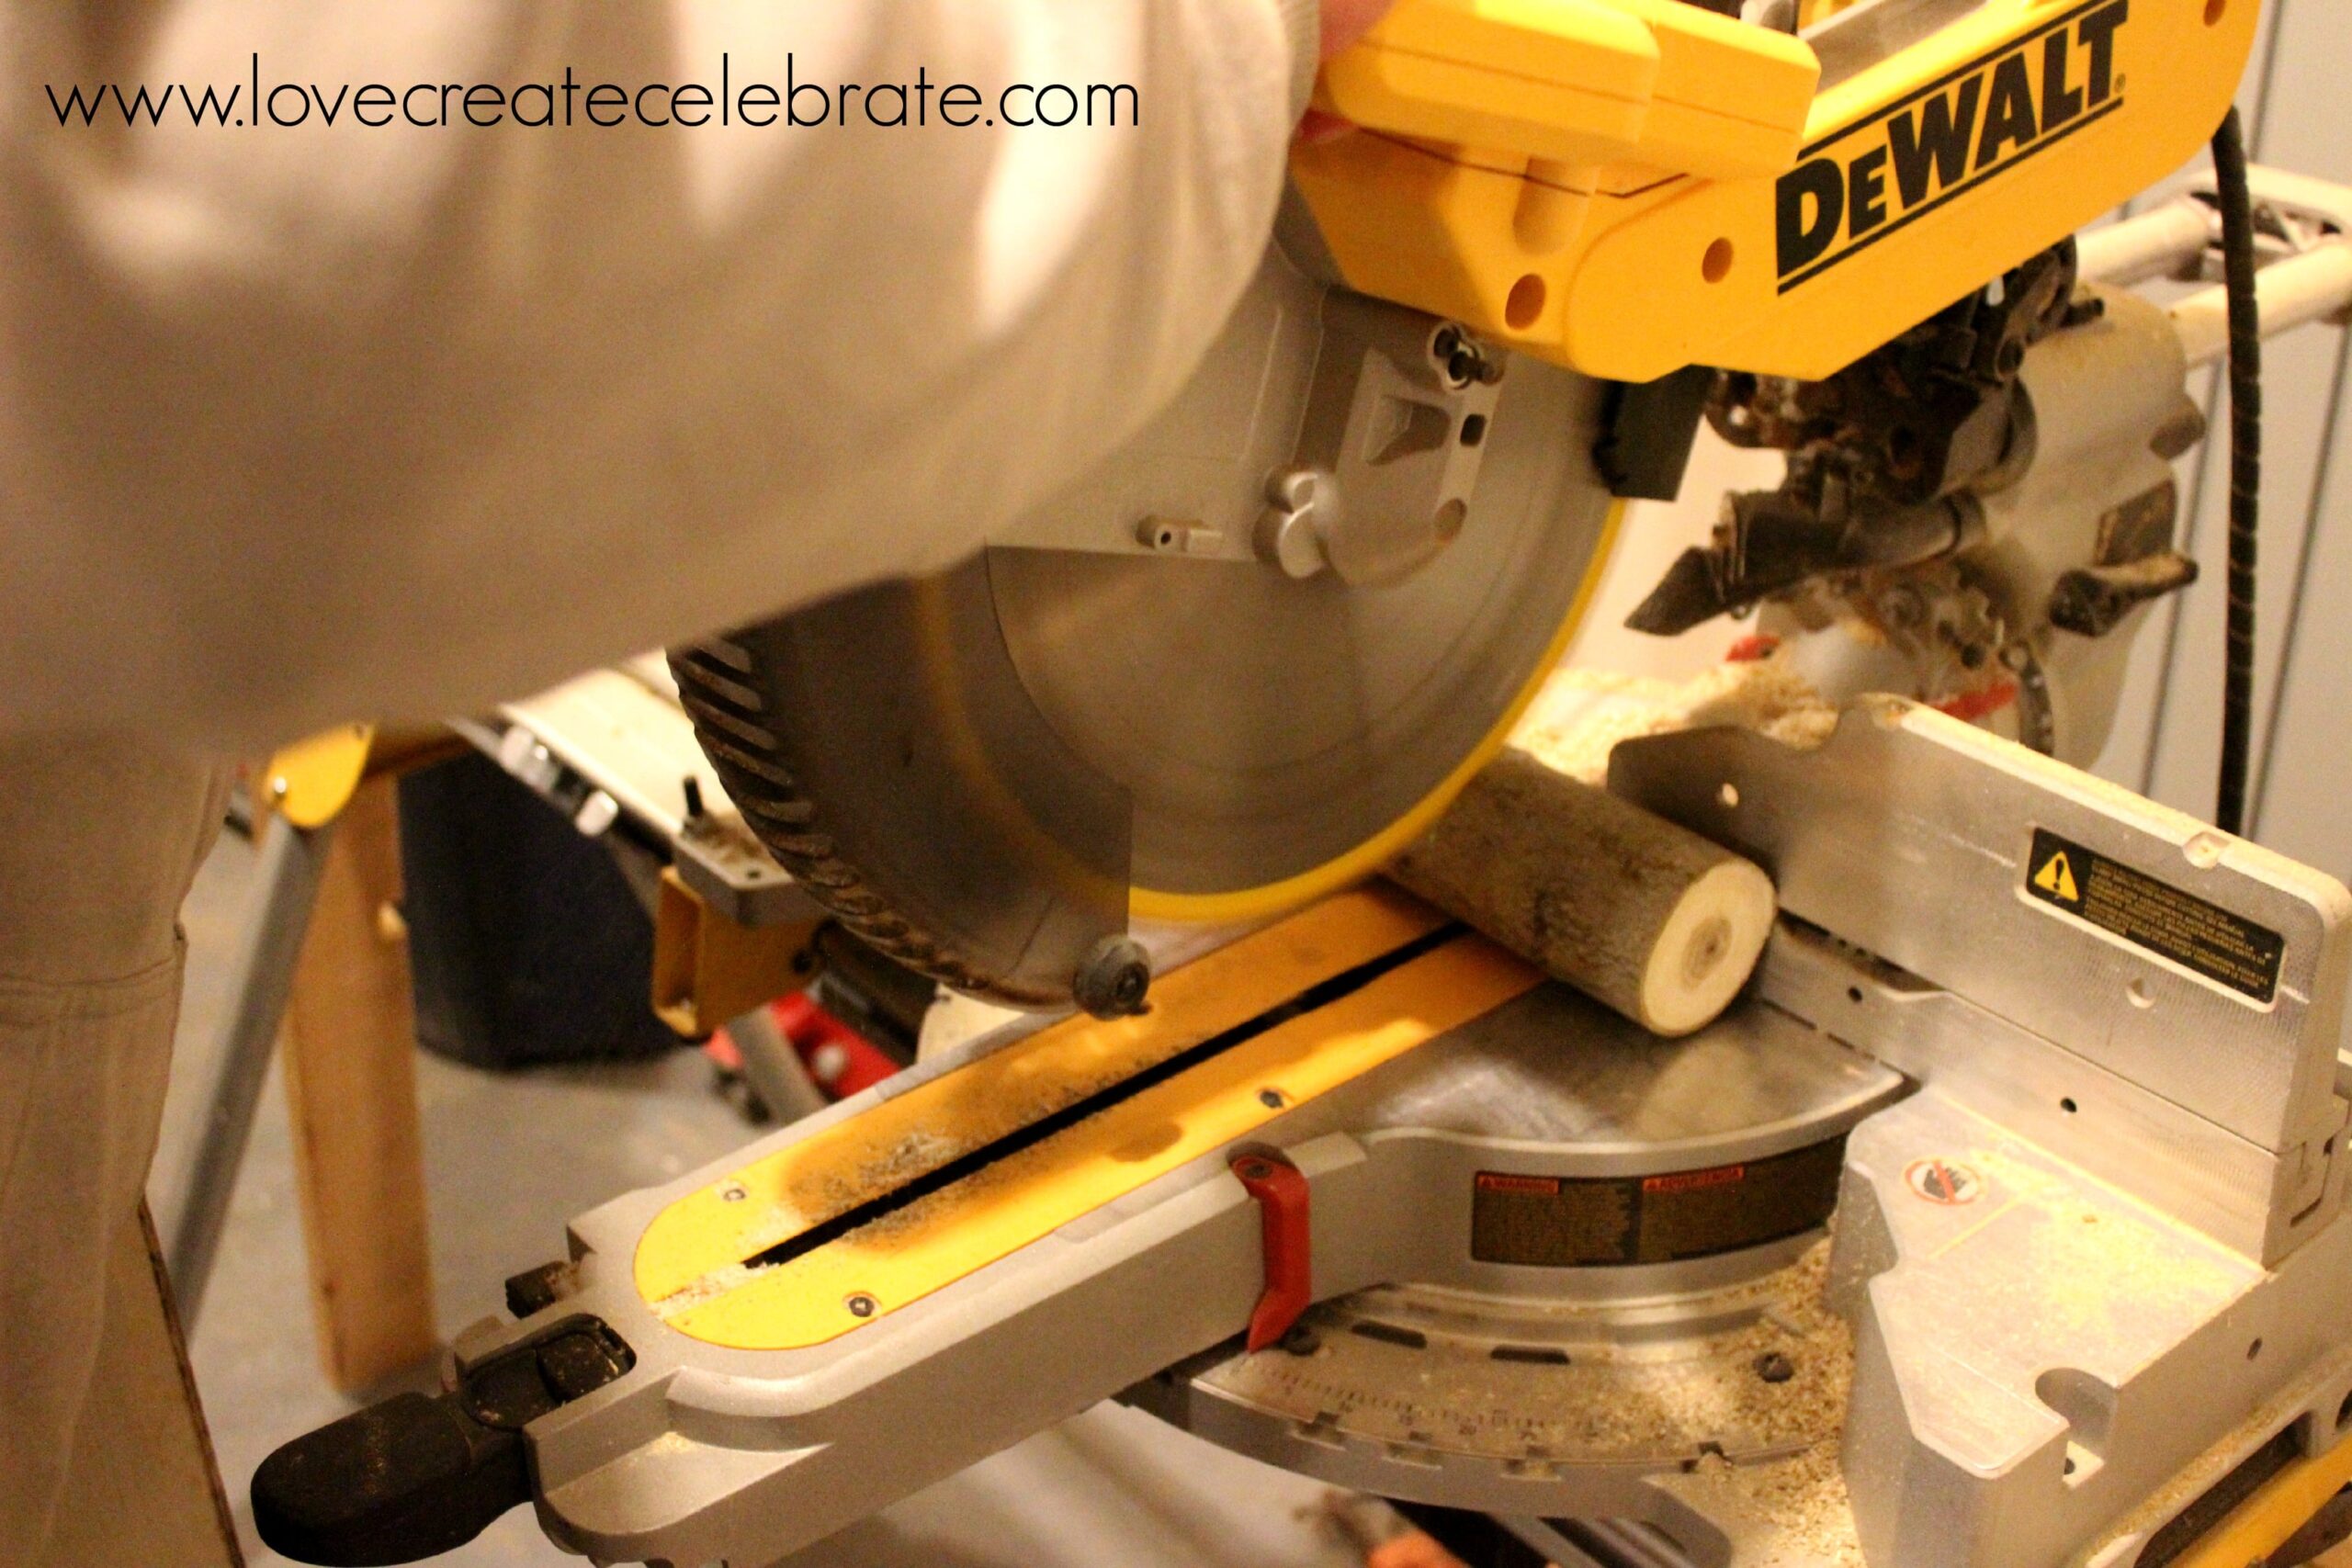
Use the mitre saw to cut your wood piece at the desired length.
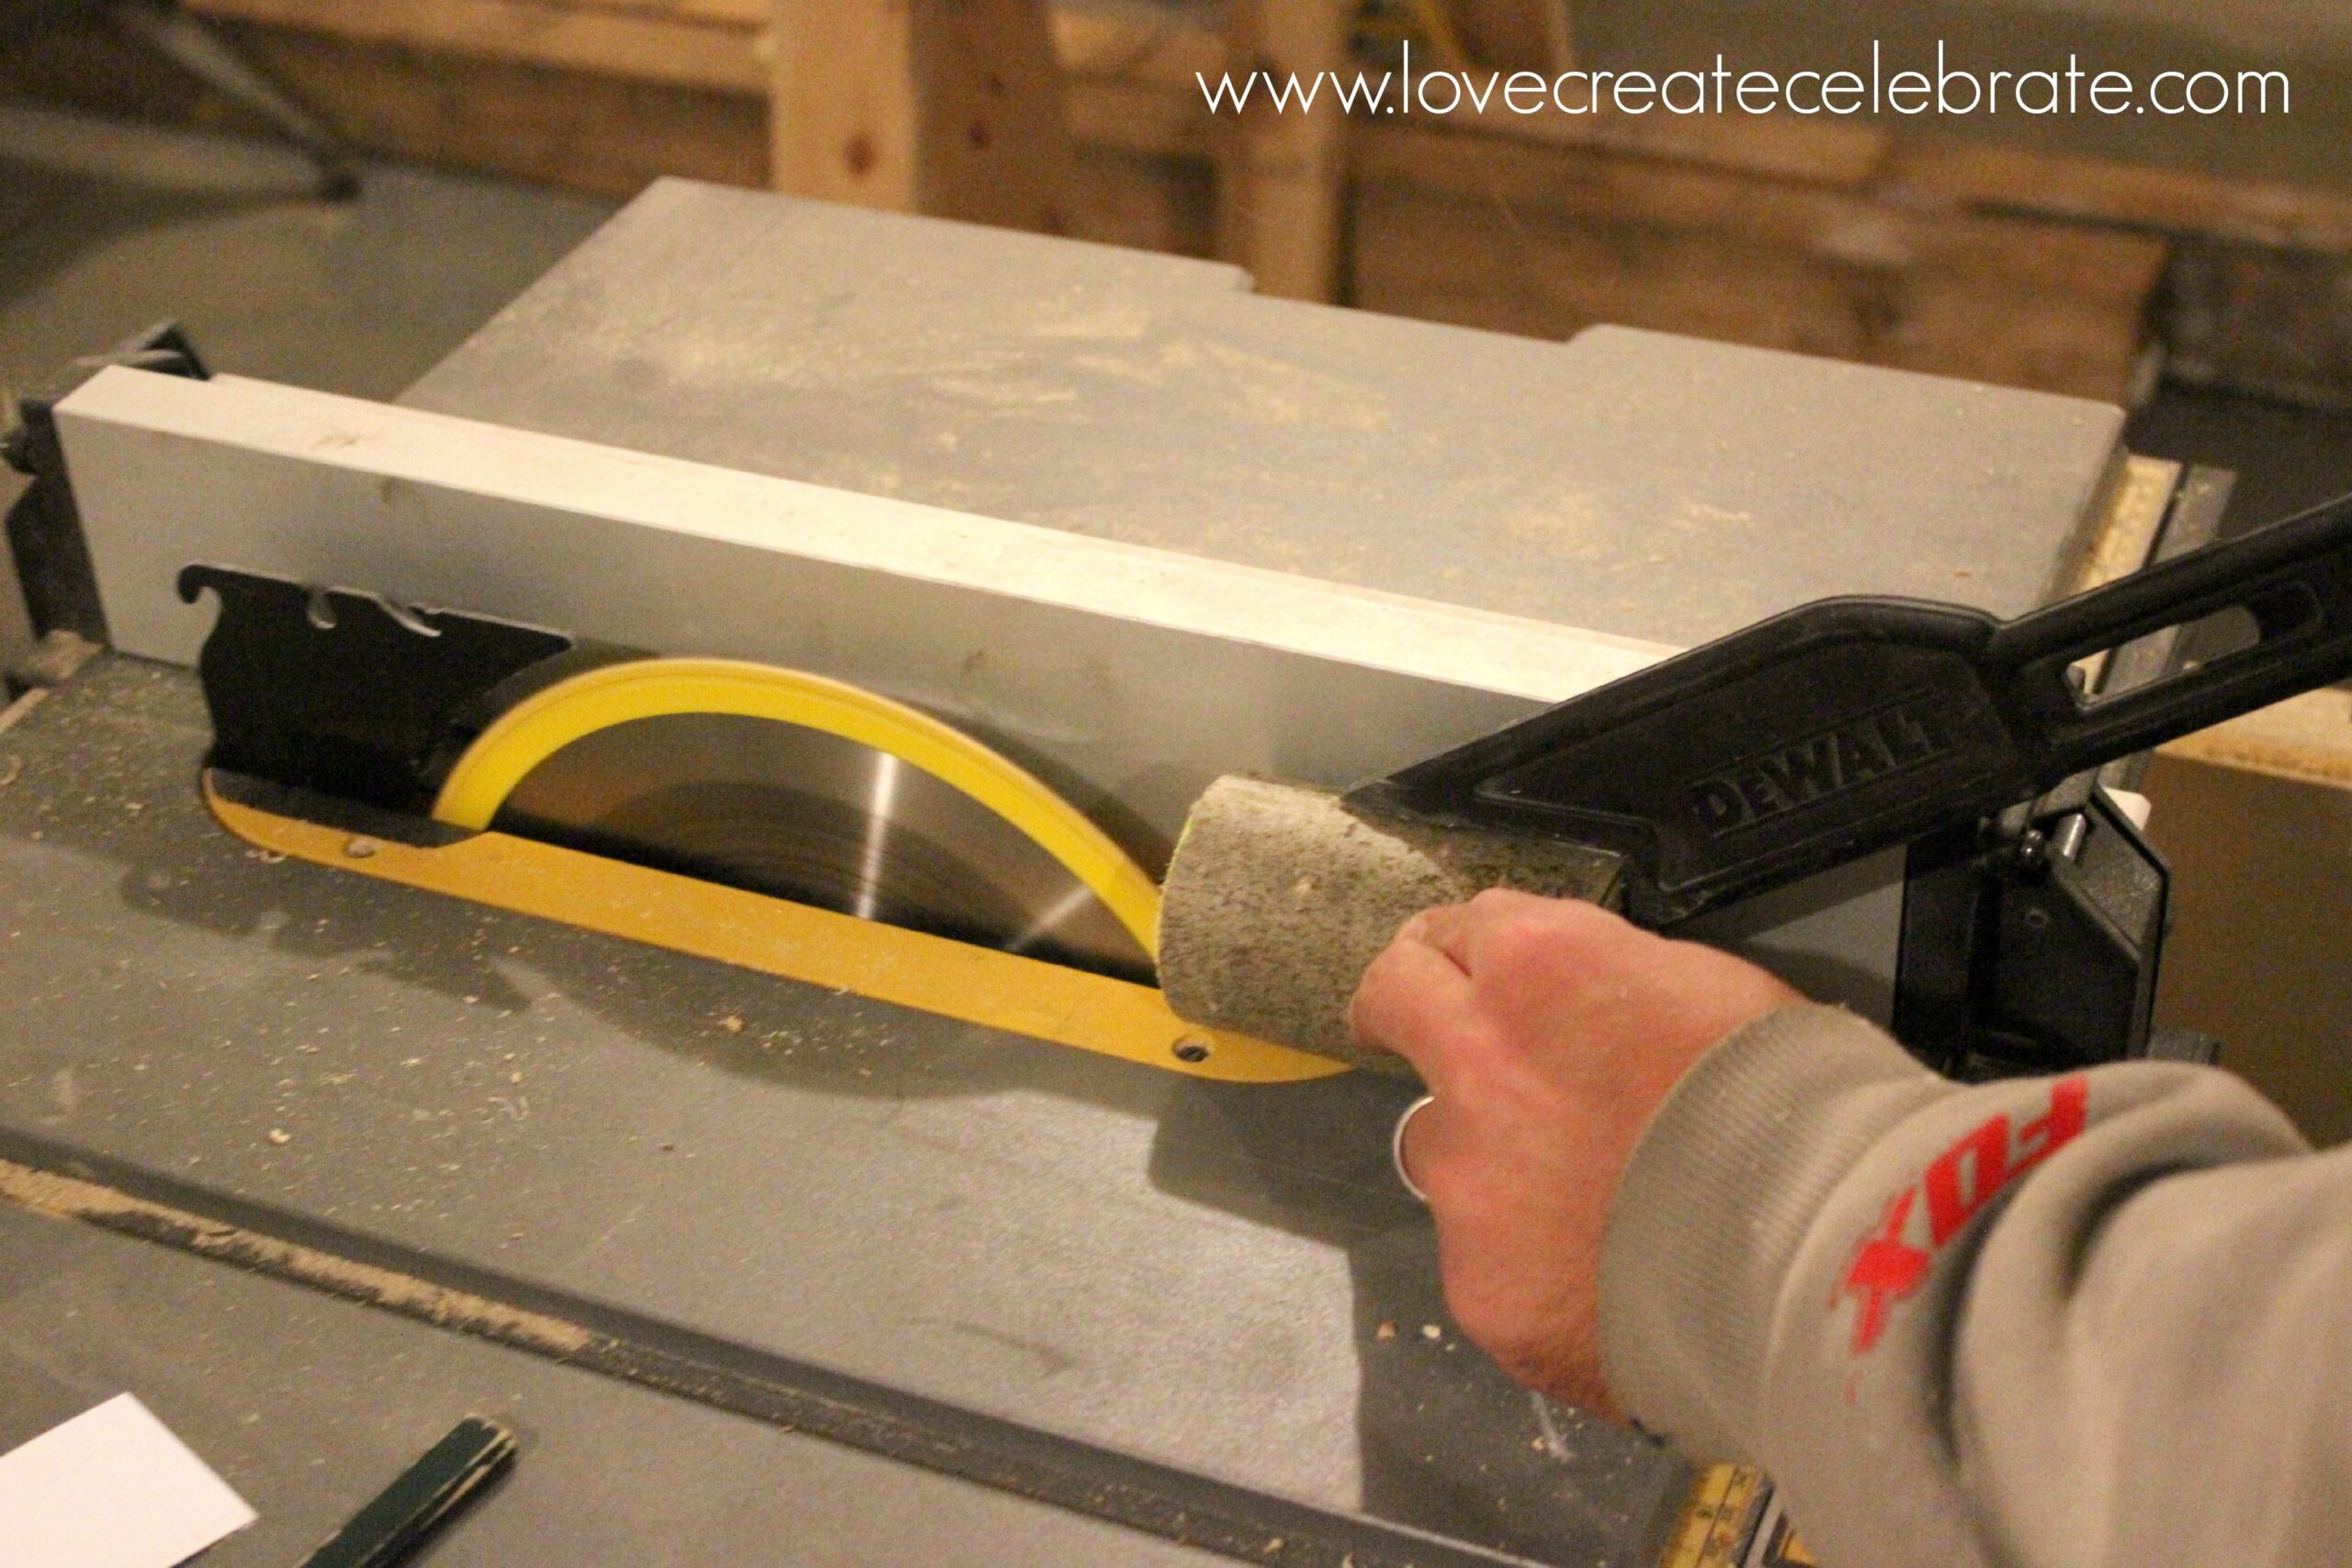
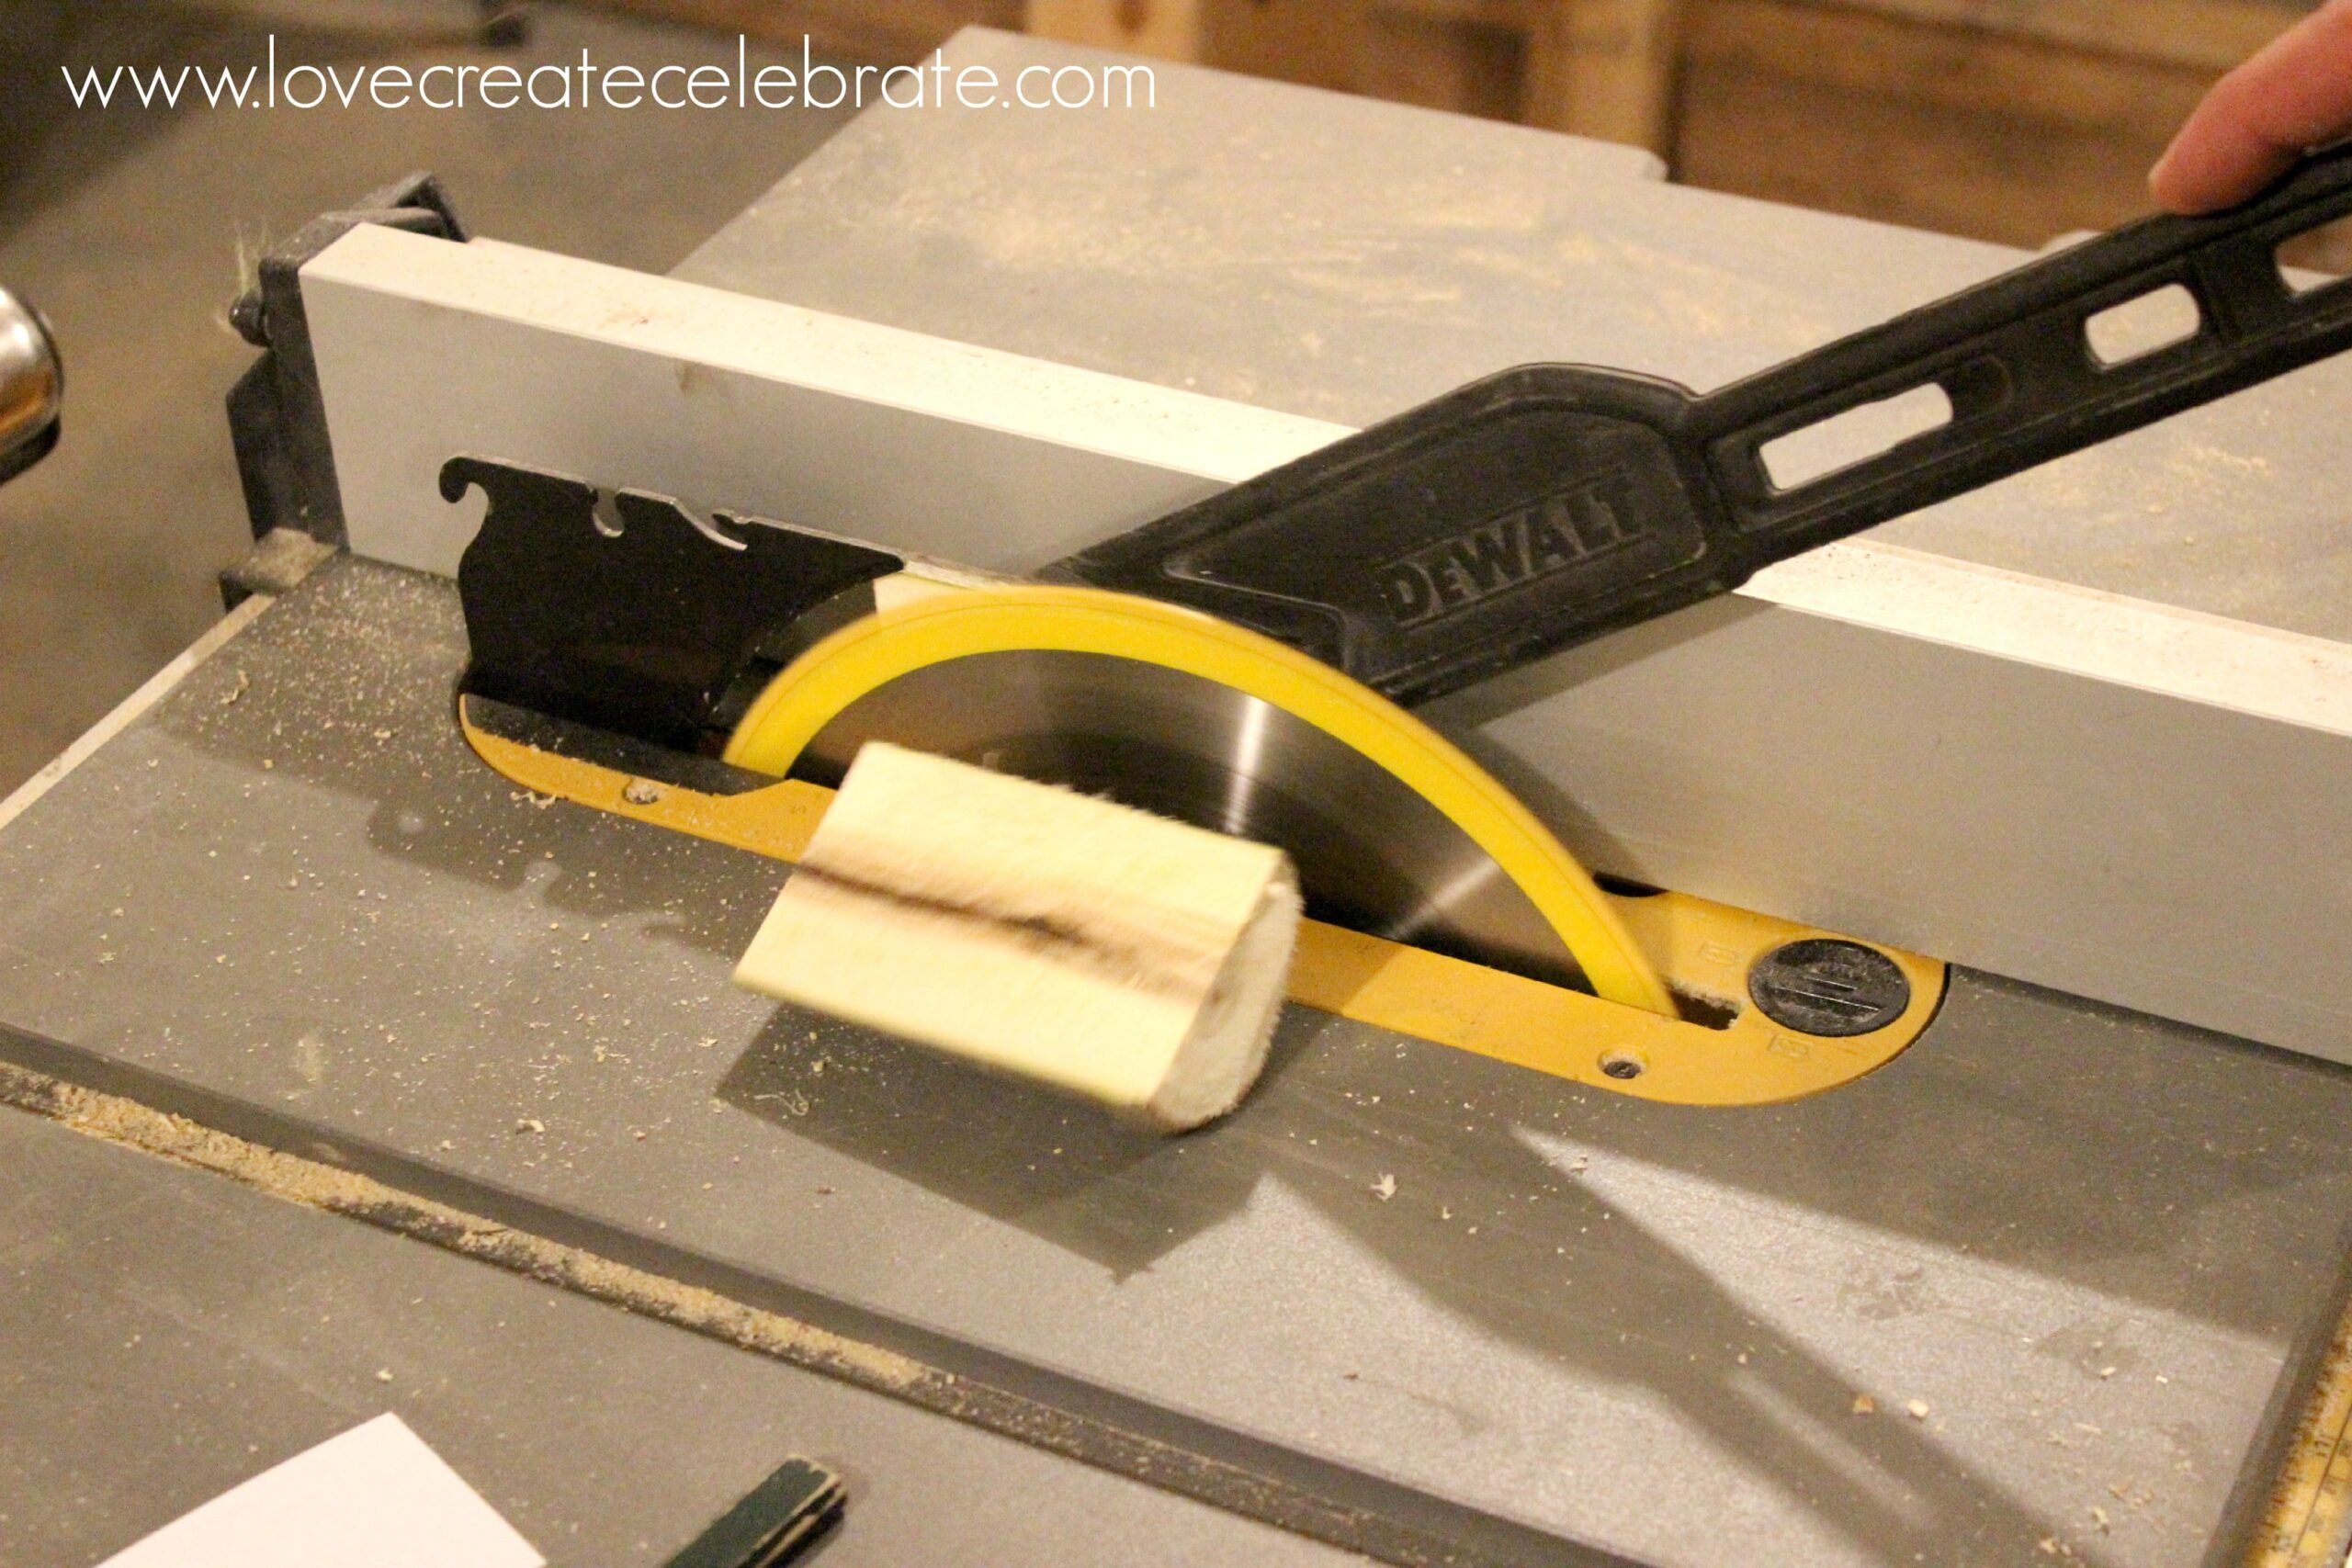
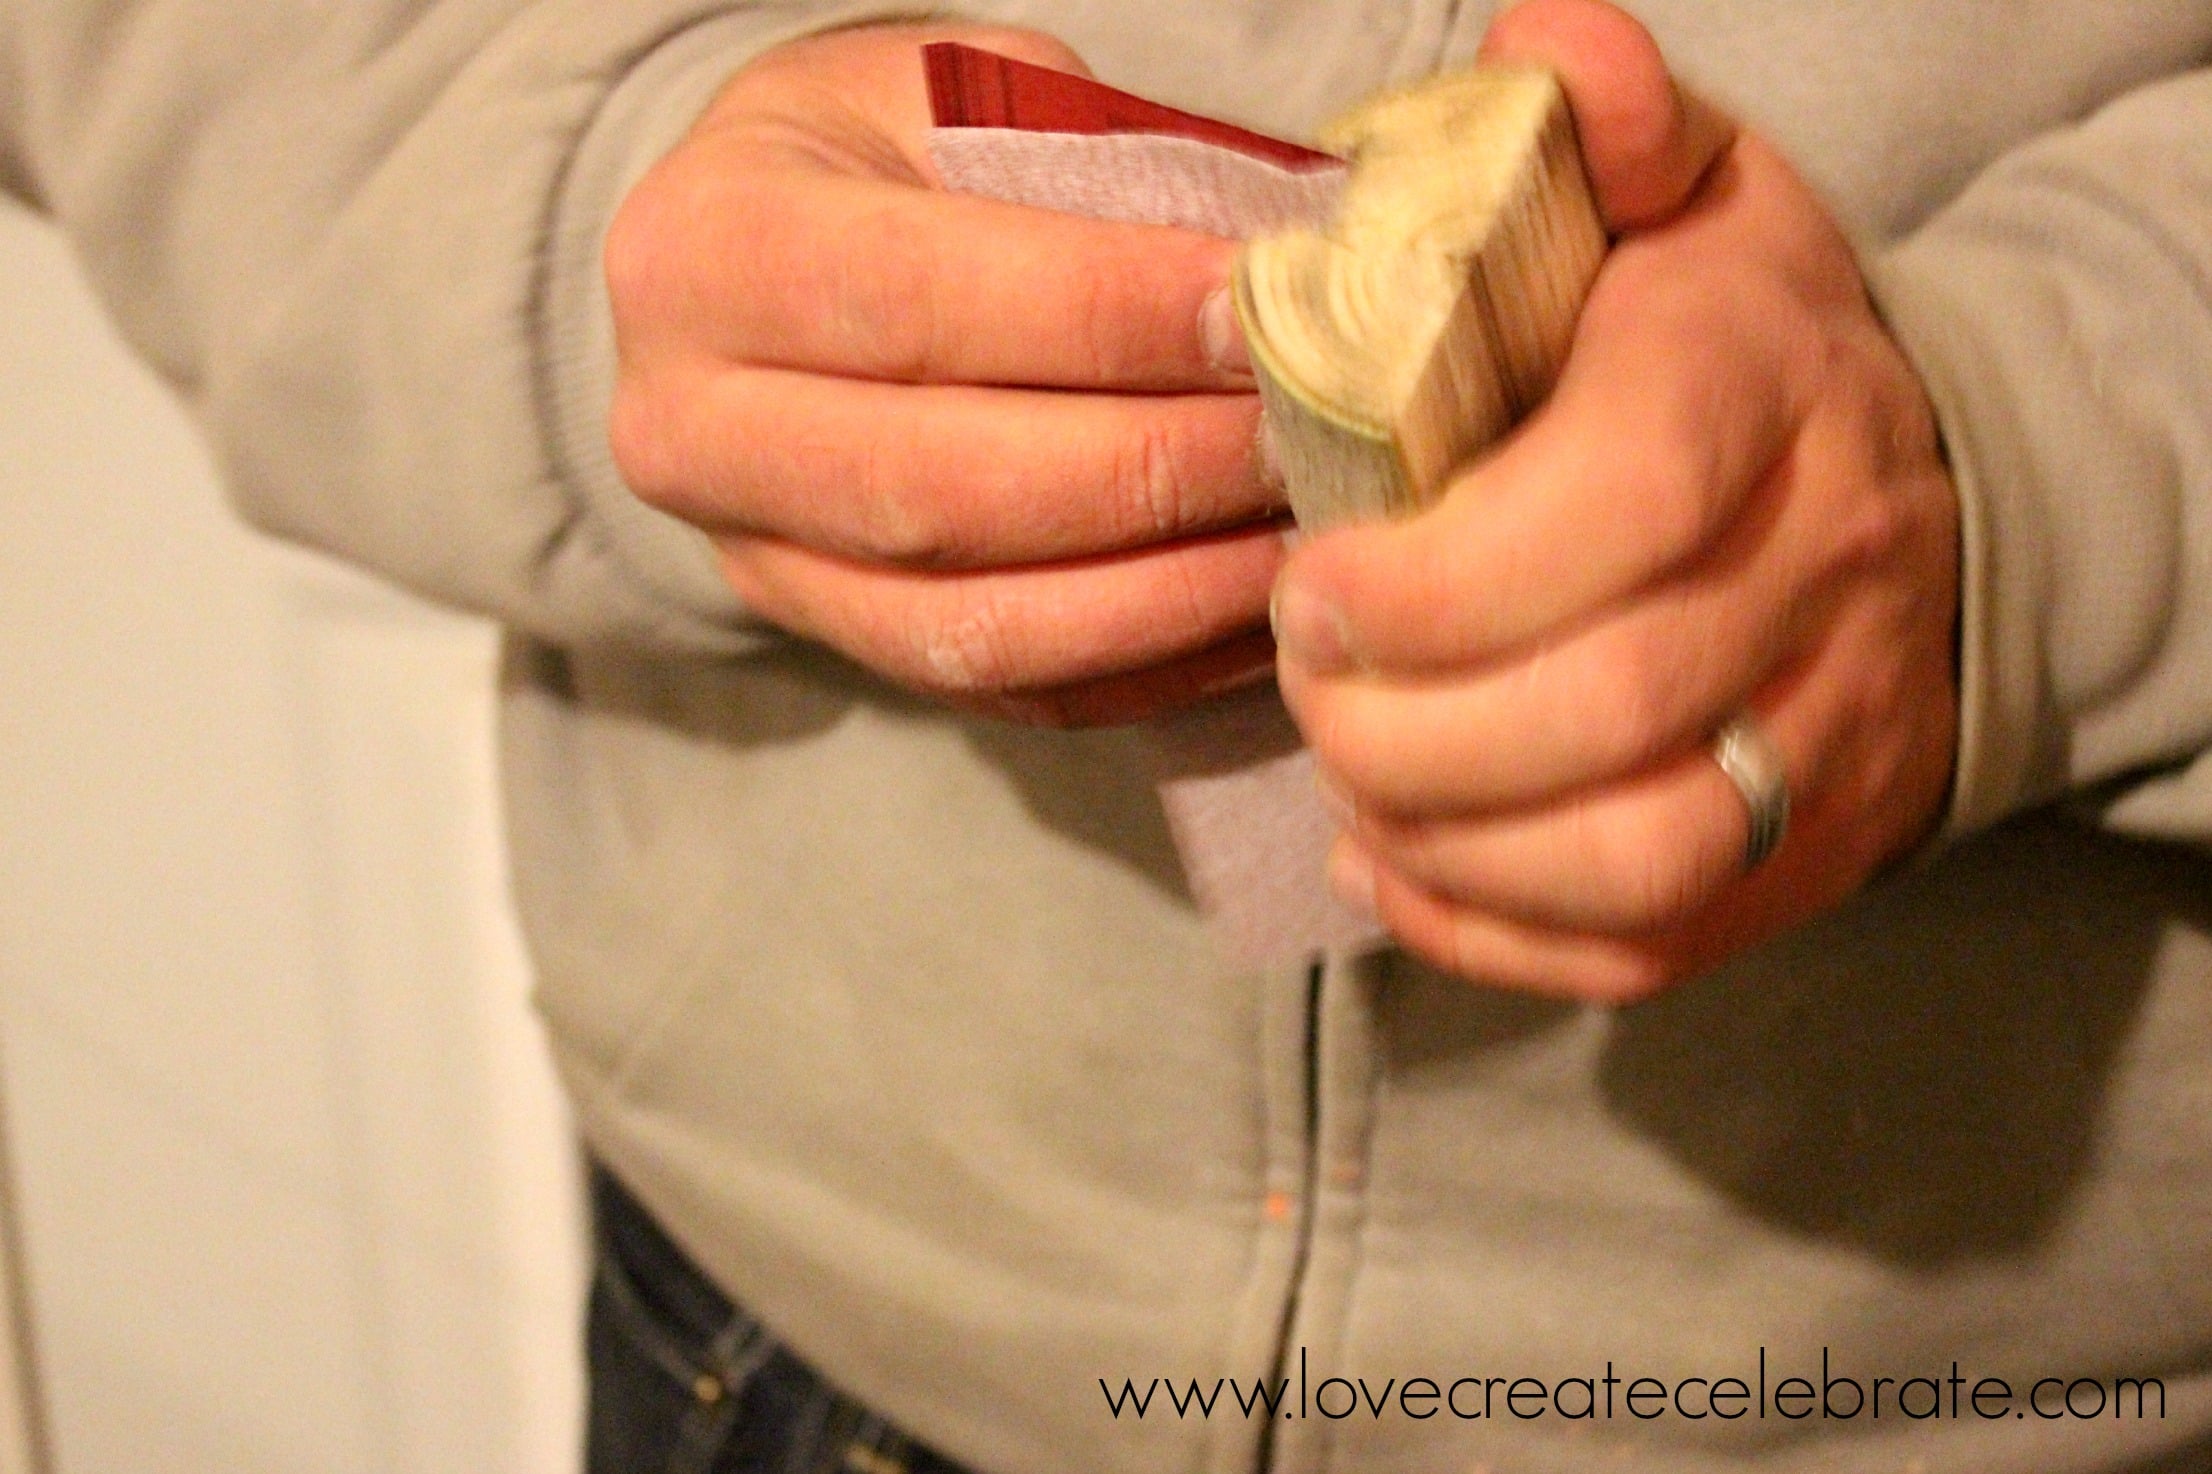
Next, hop over to the table saw. Here we are going to cut the branch in half lengthwise. Make sure you have something to feed the wood through with, because your hands shouldn’t go that close to the saw!
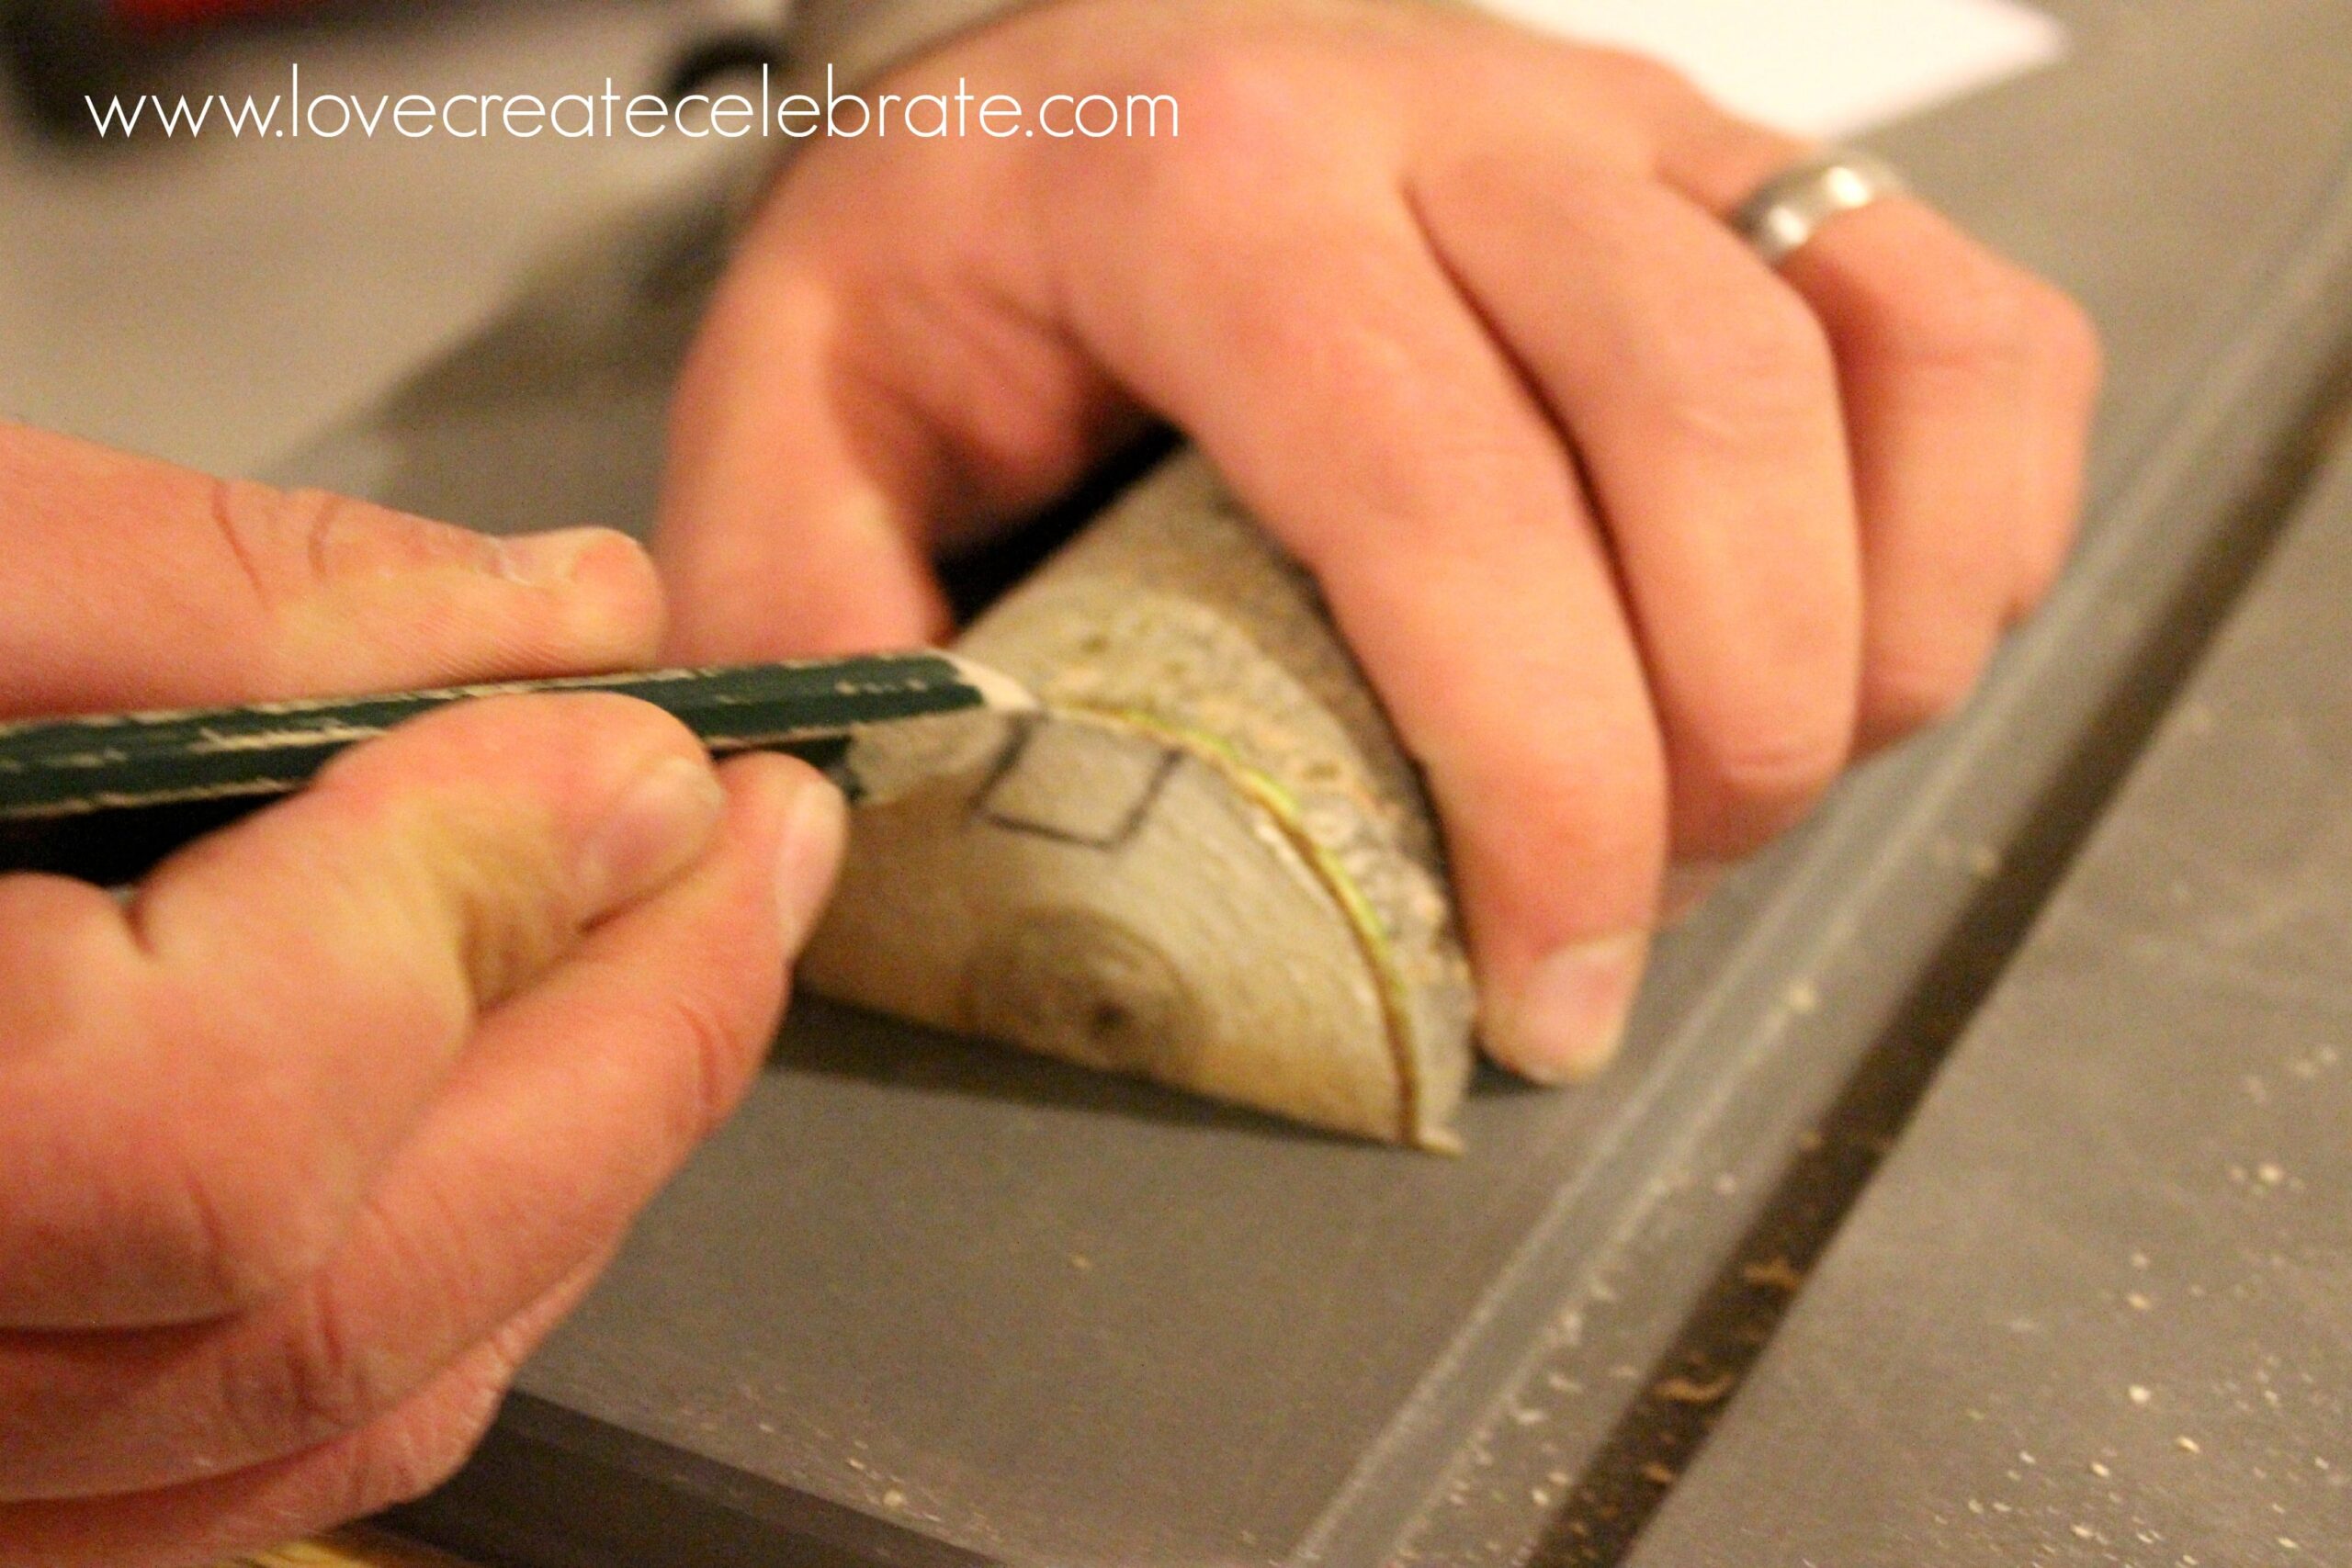
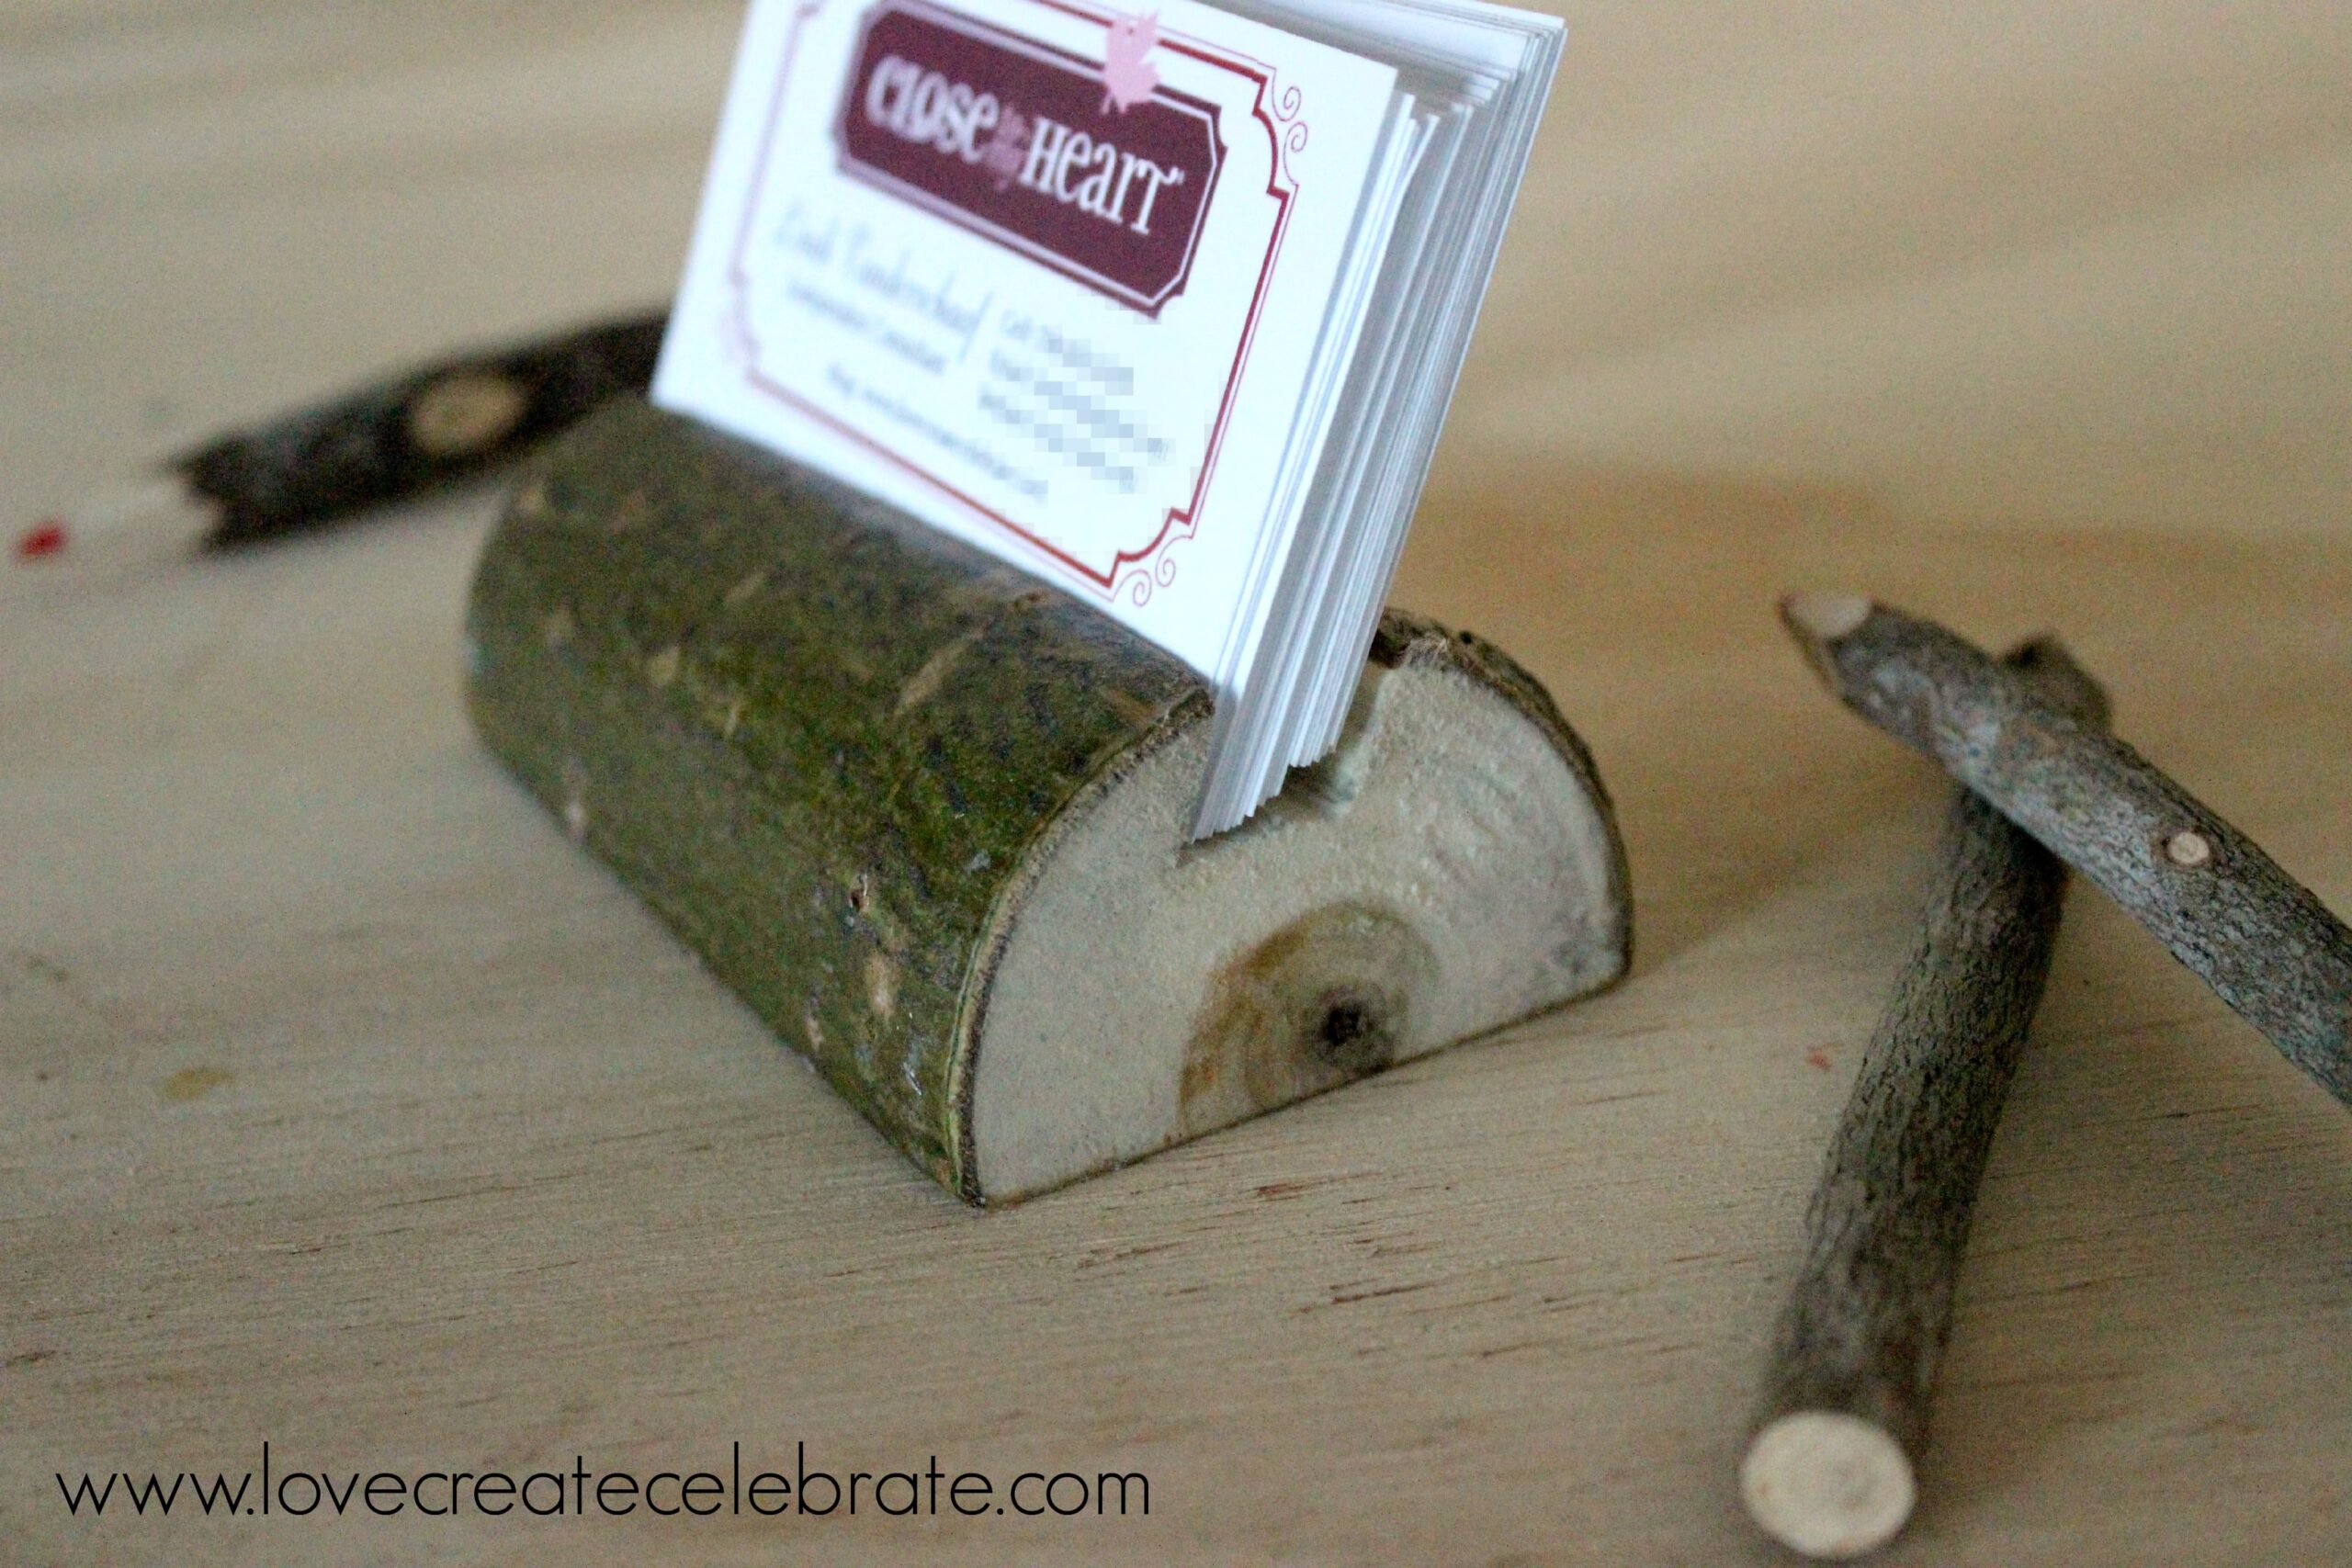
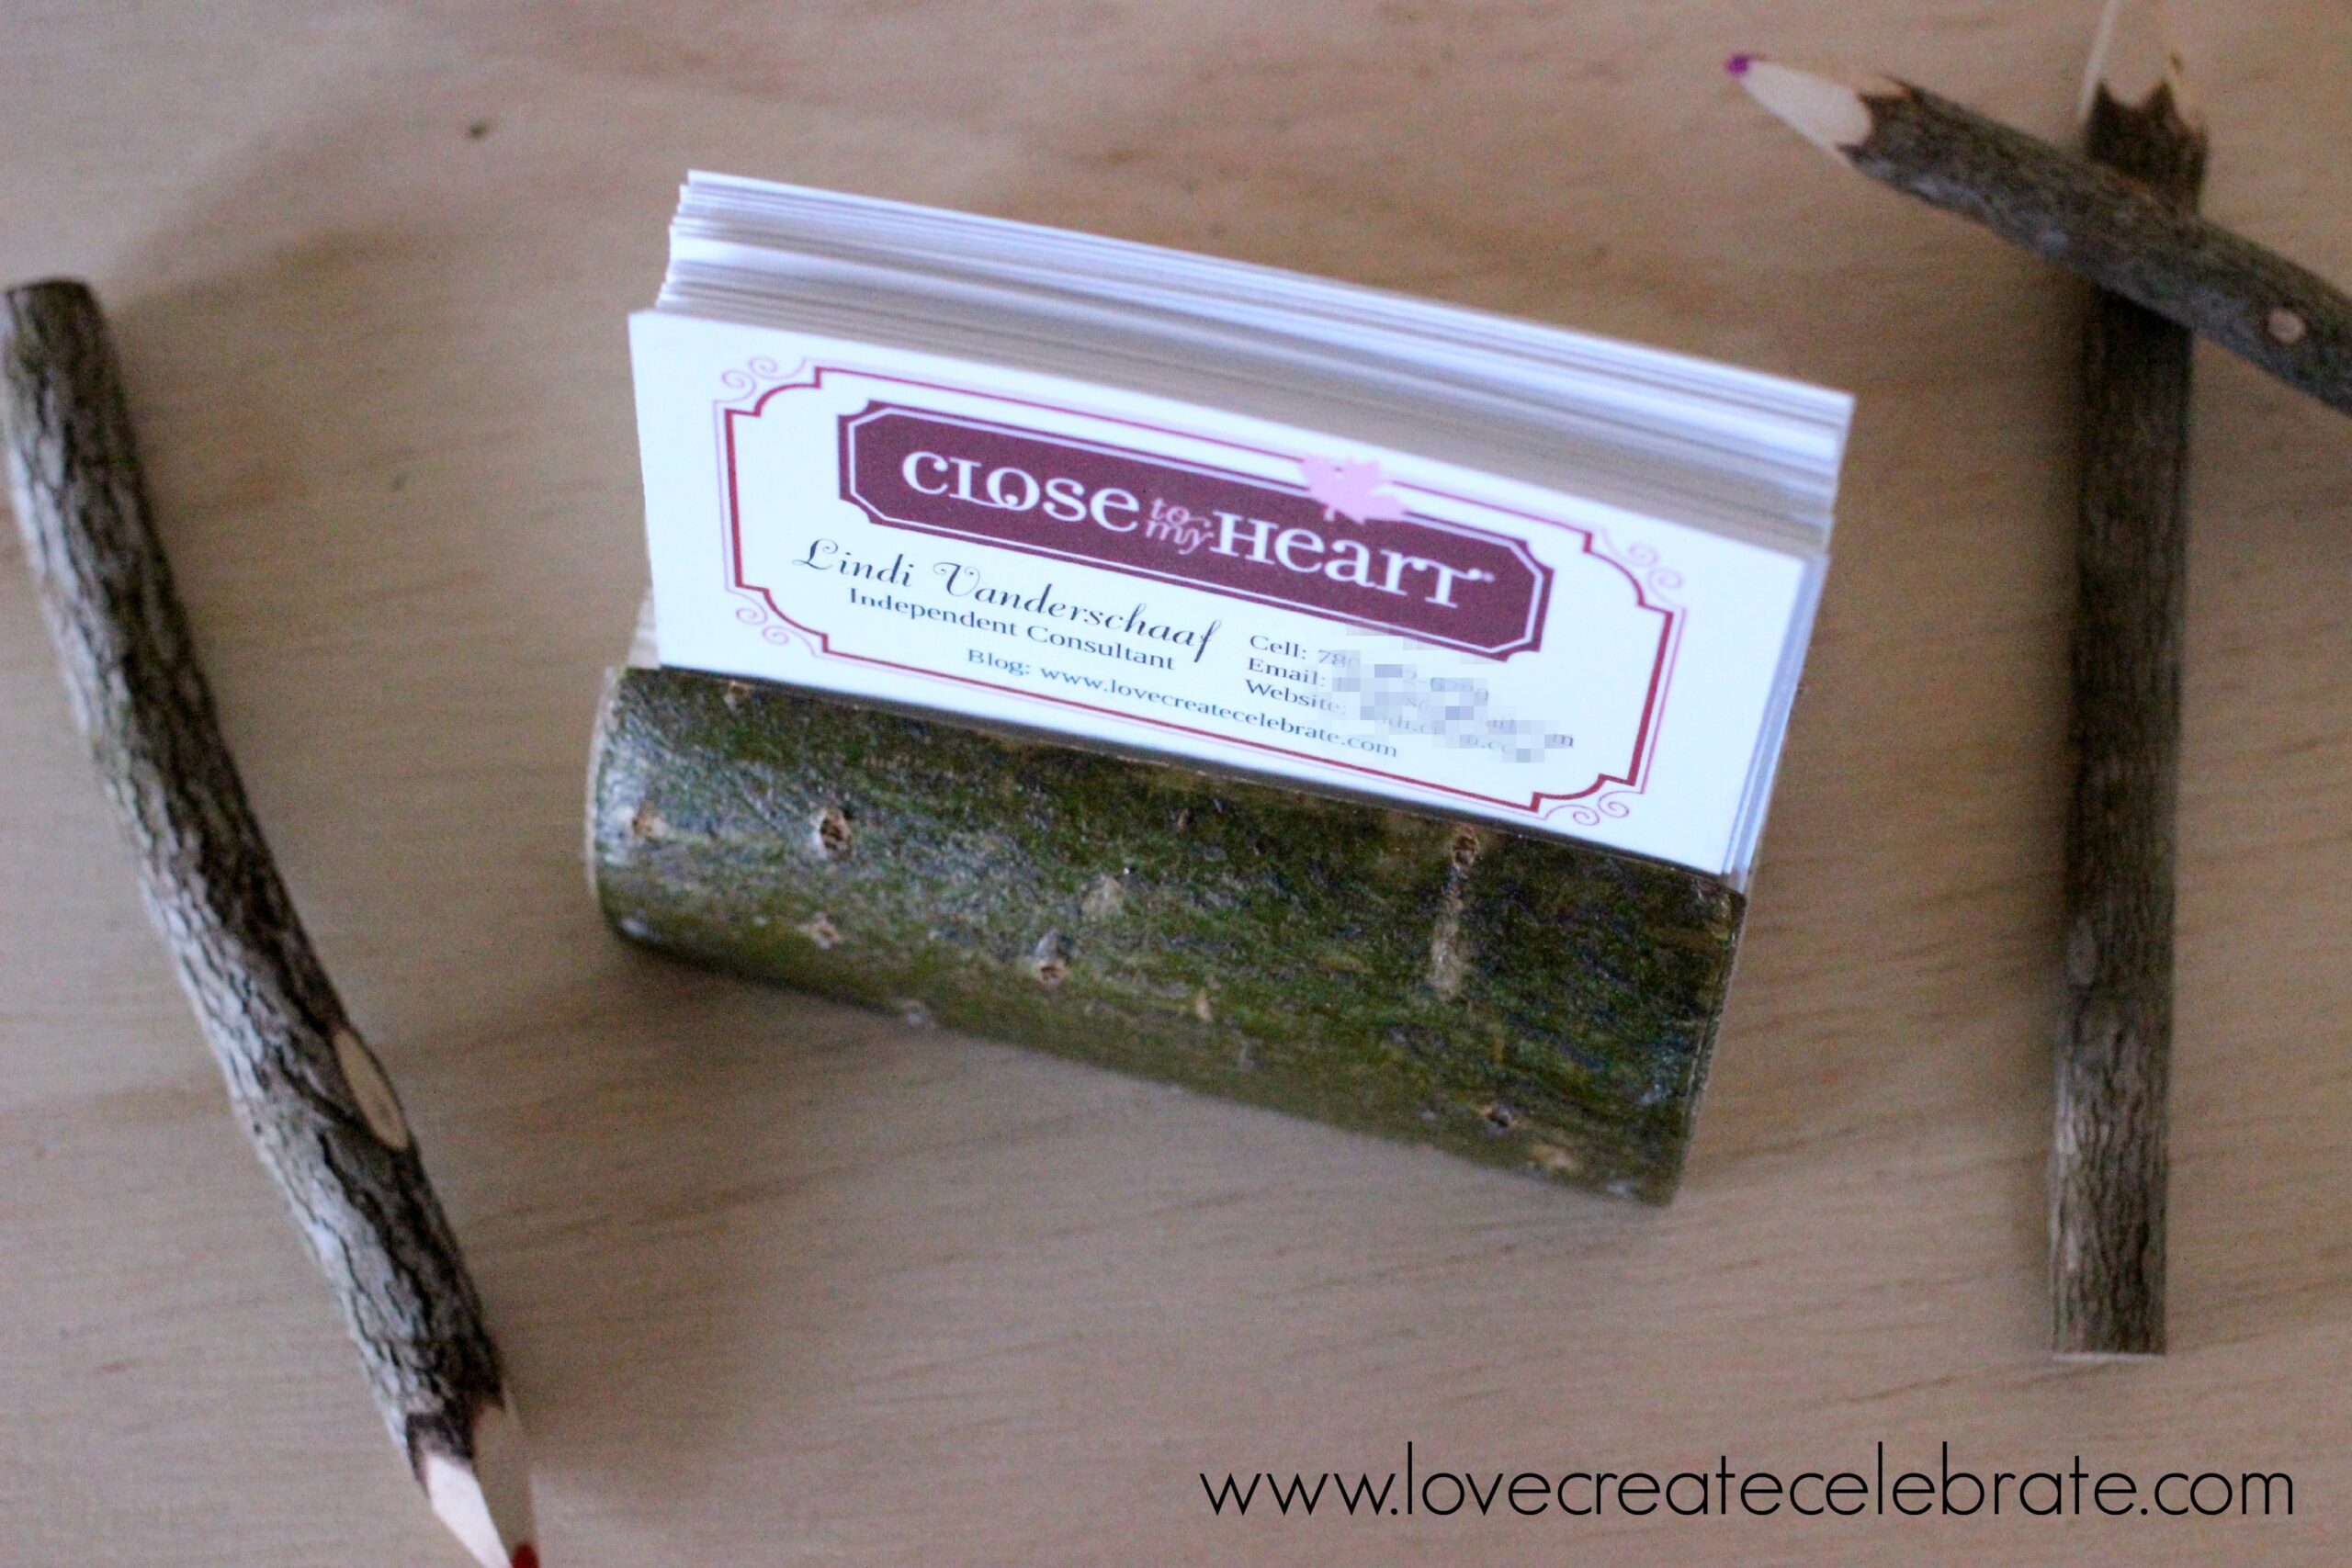
Next, draw where you want your business card opening to sit with pencil. You only have to draw on one side because you will use the bandsaw to cut straight all the way through. Make sure the opening is directly at the top-centre of the card holder, and that your opening is on an angle so that the cards will sit in without support (even if there are only a couple of cards there).
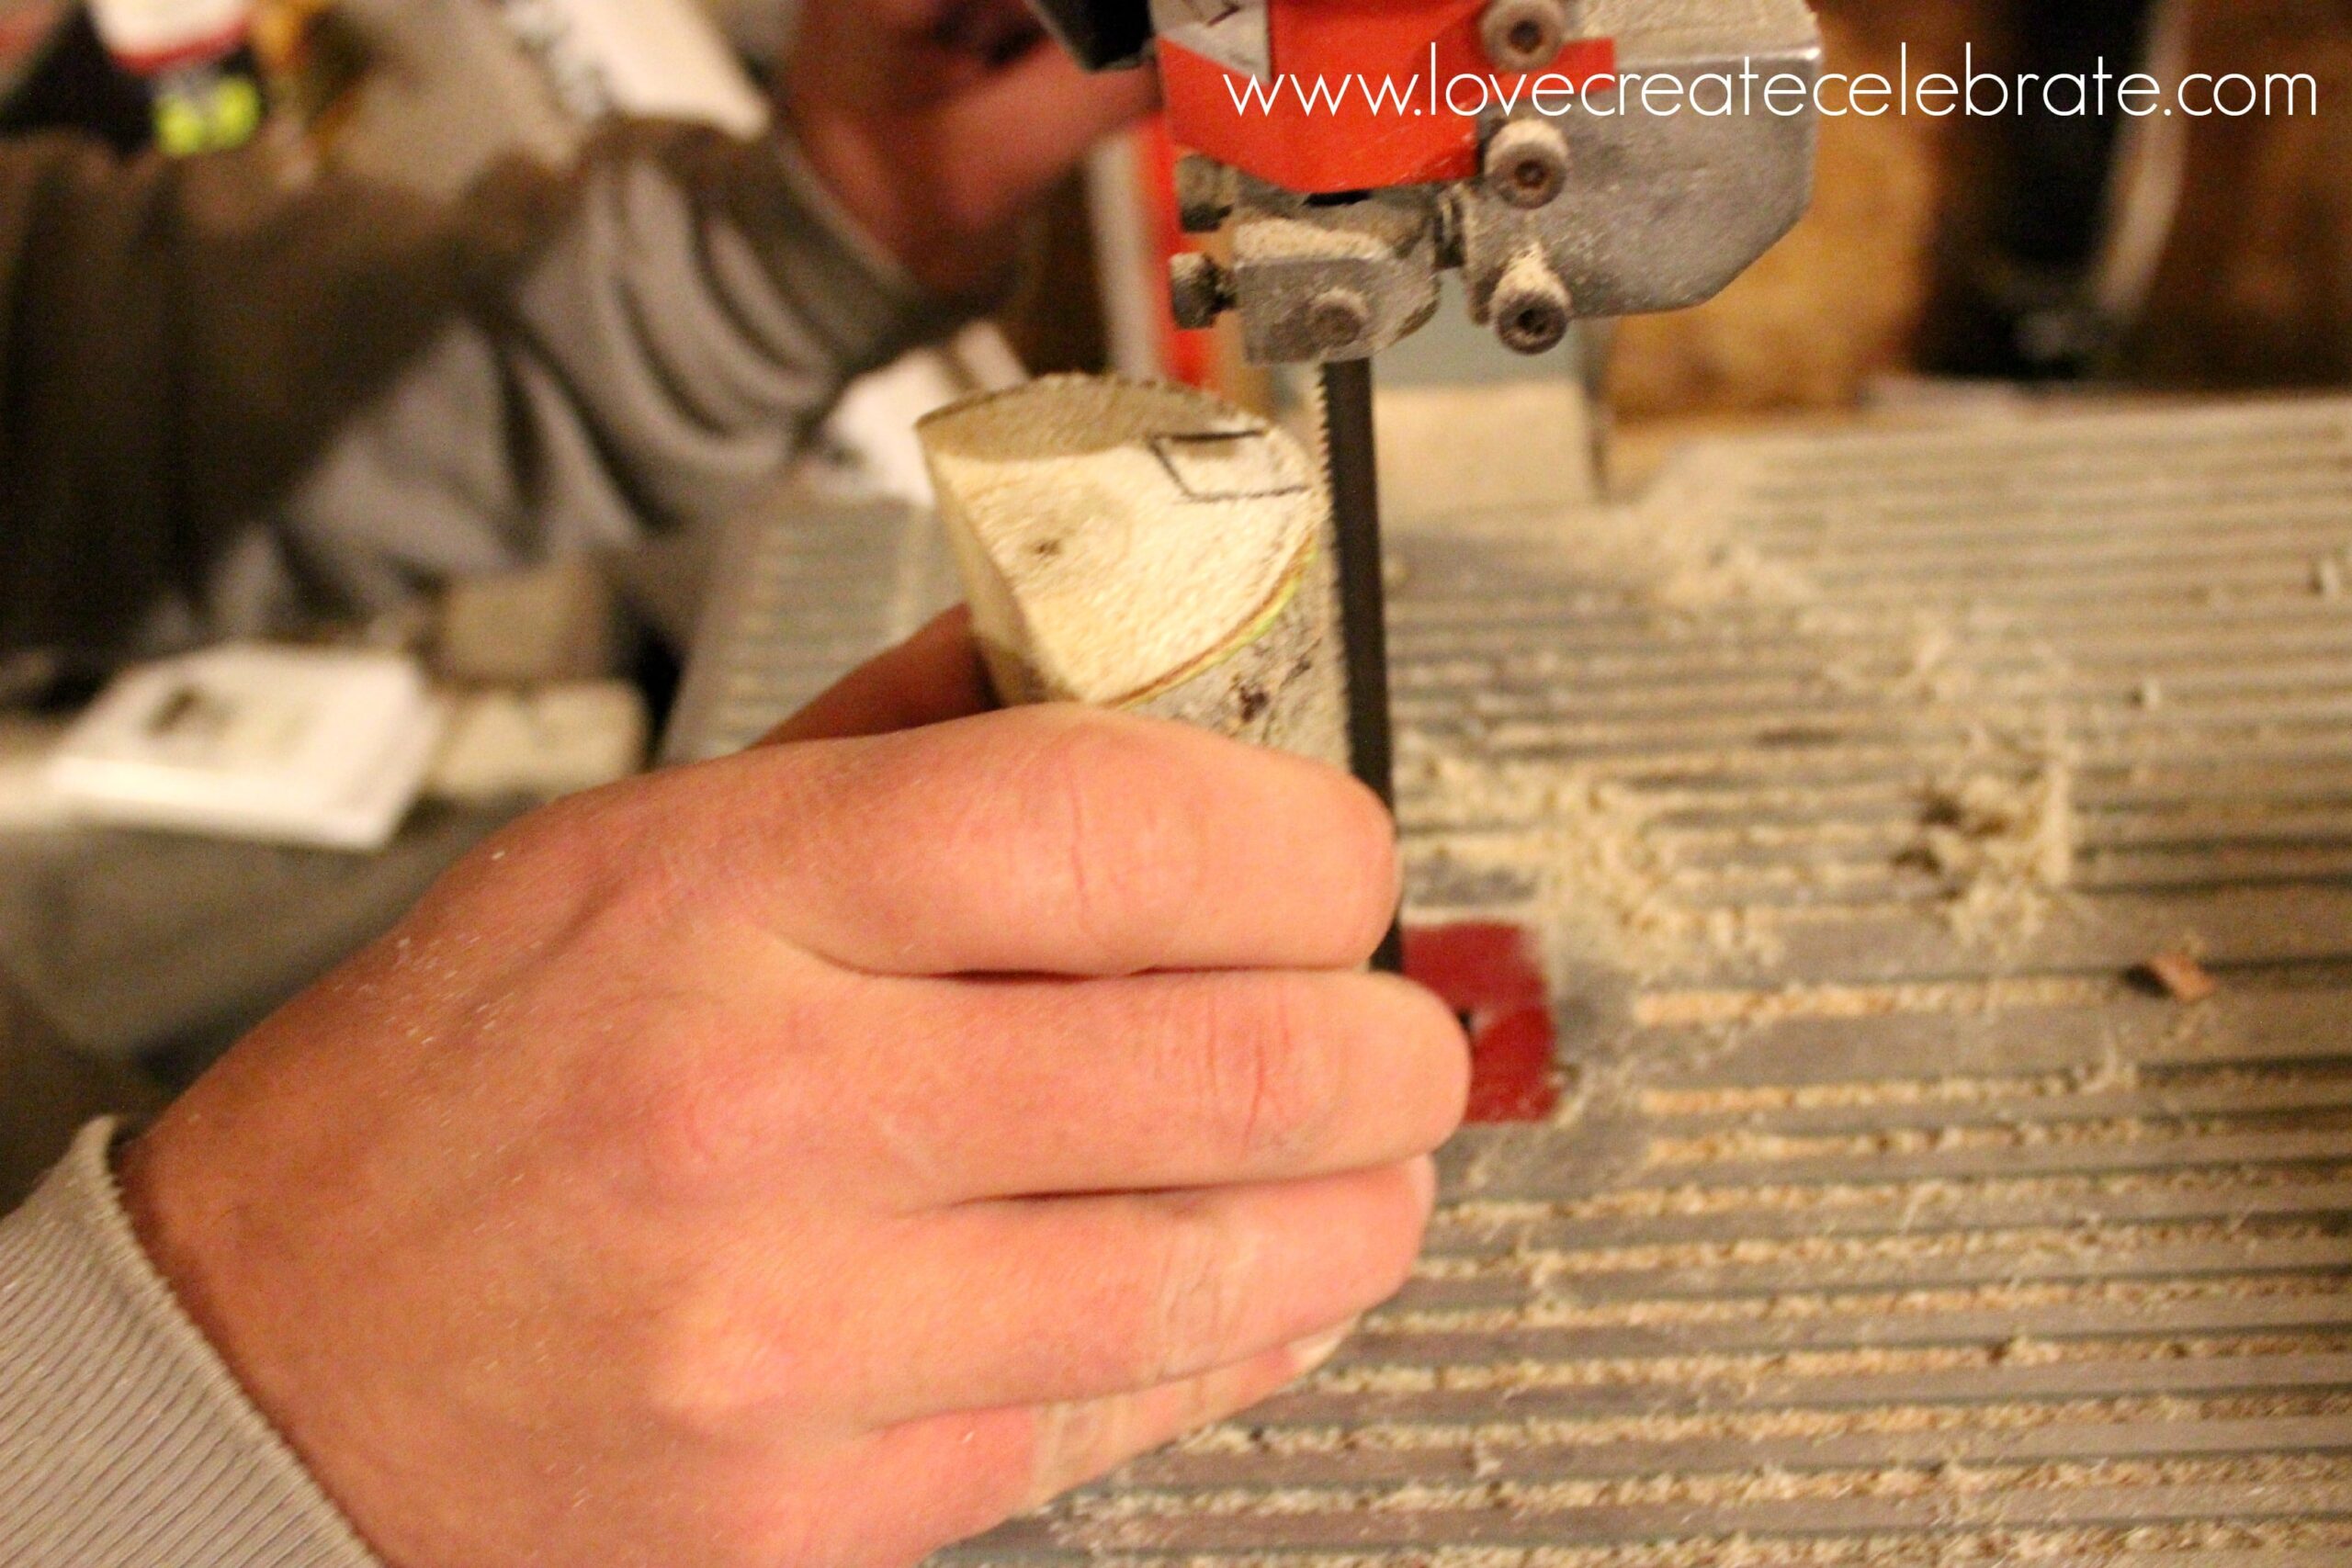
Use the bandsaw to cut through the opening of the card holder.
And finally, the FUN part <insert sarcasm emoji>. Some people love sanding, but I find it long and tedious… lol. Although the projects with never look as good without it! You want to sand the inside well to make it smooth, as well as the bottom so that it sits flat.
Finally, you want to make sure the wood is dry and everything inside is good and dead. So I stick these pieces in the oven for 20 minutes at 100F. Better safe then sorry! Then I spray them with an acrylic sealer to protect the lovely, rustic wooden finish :)

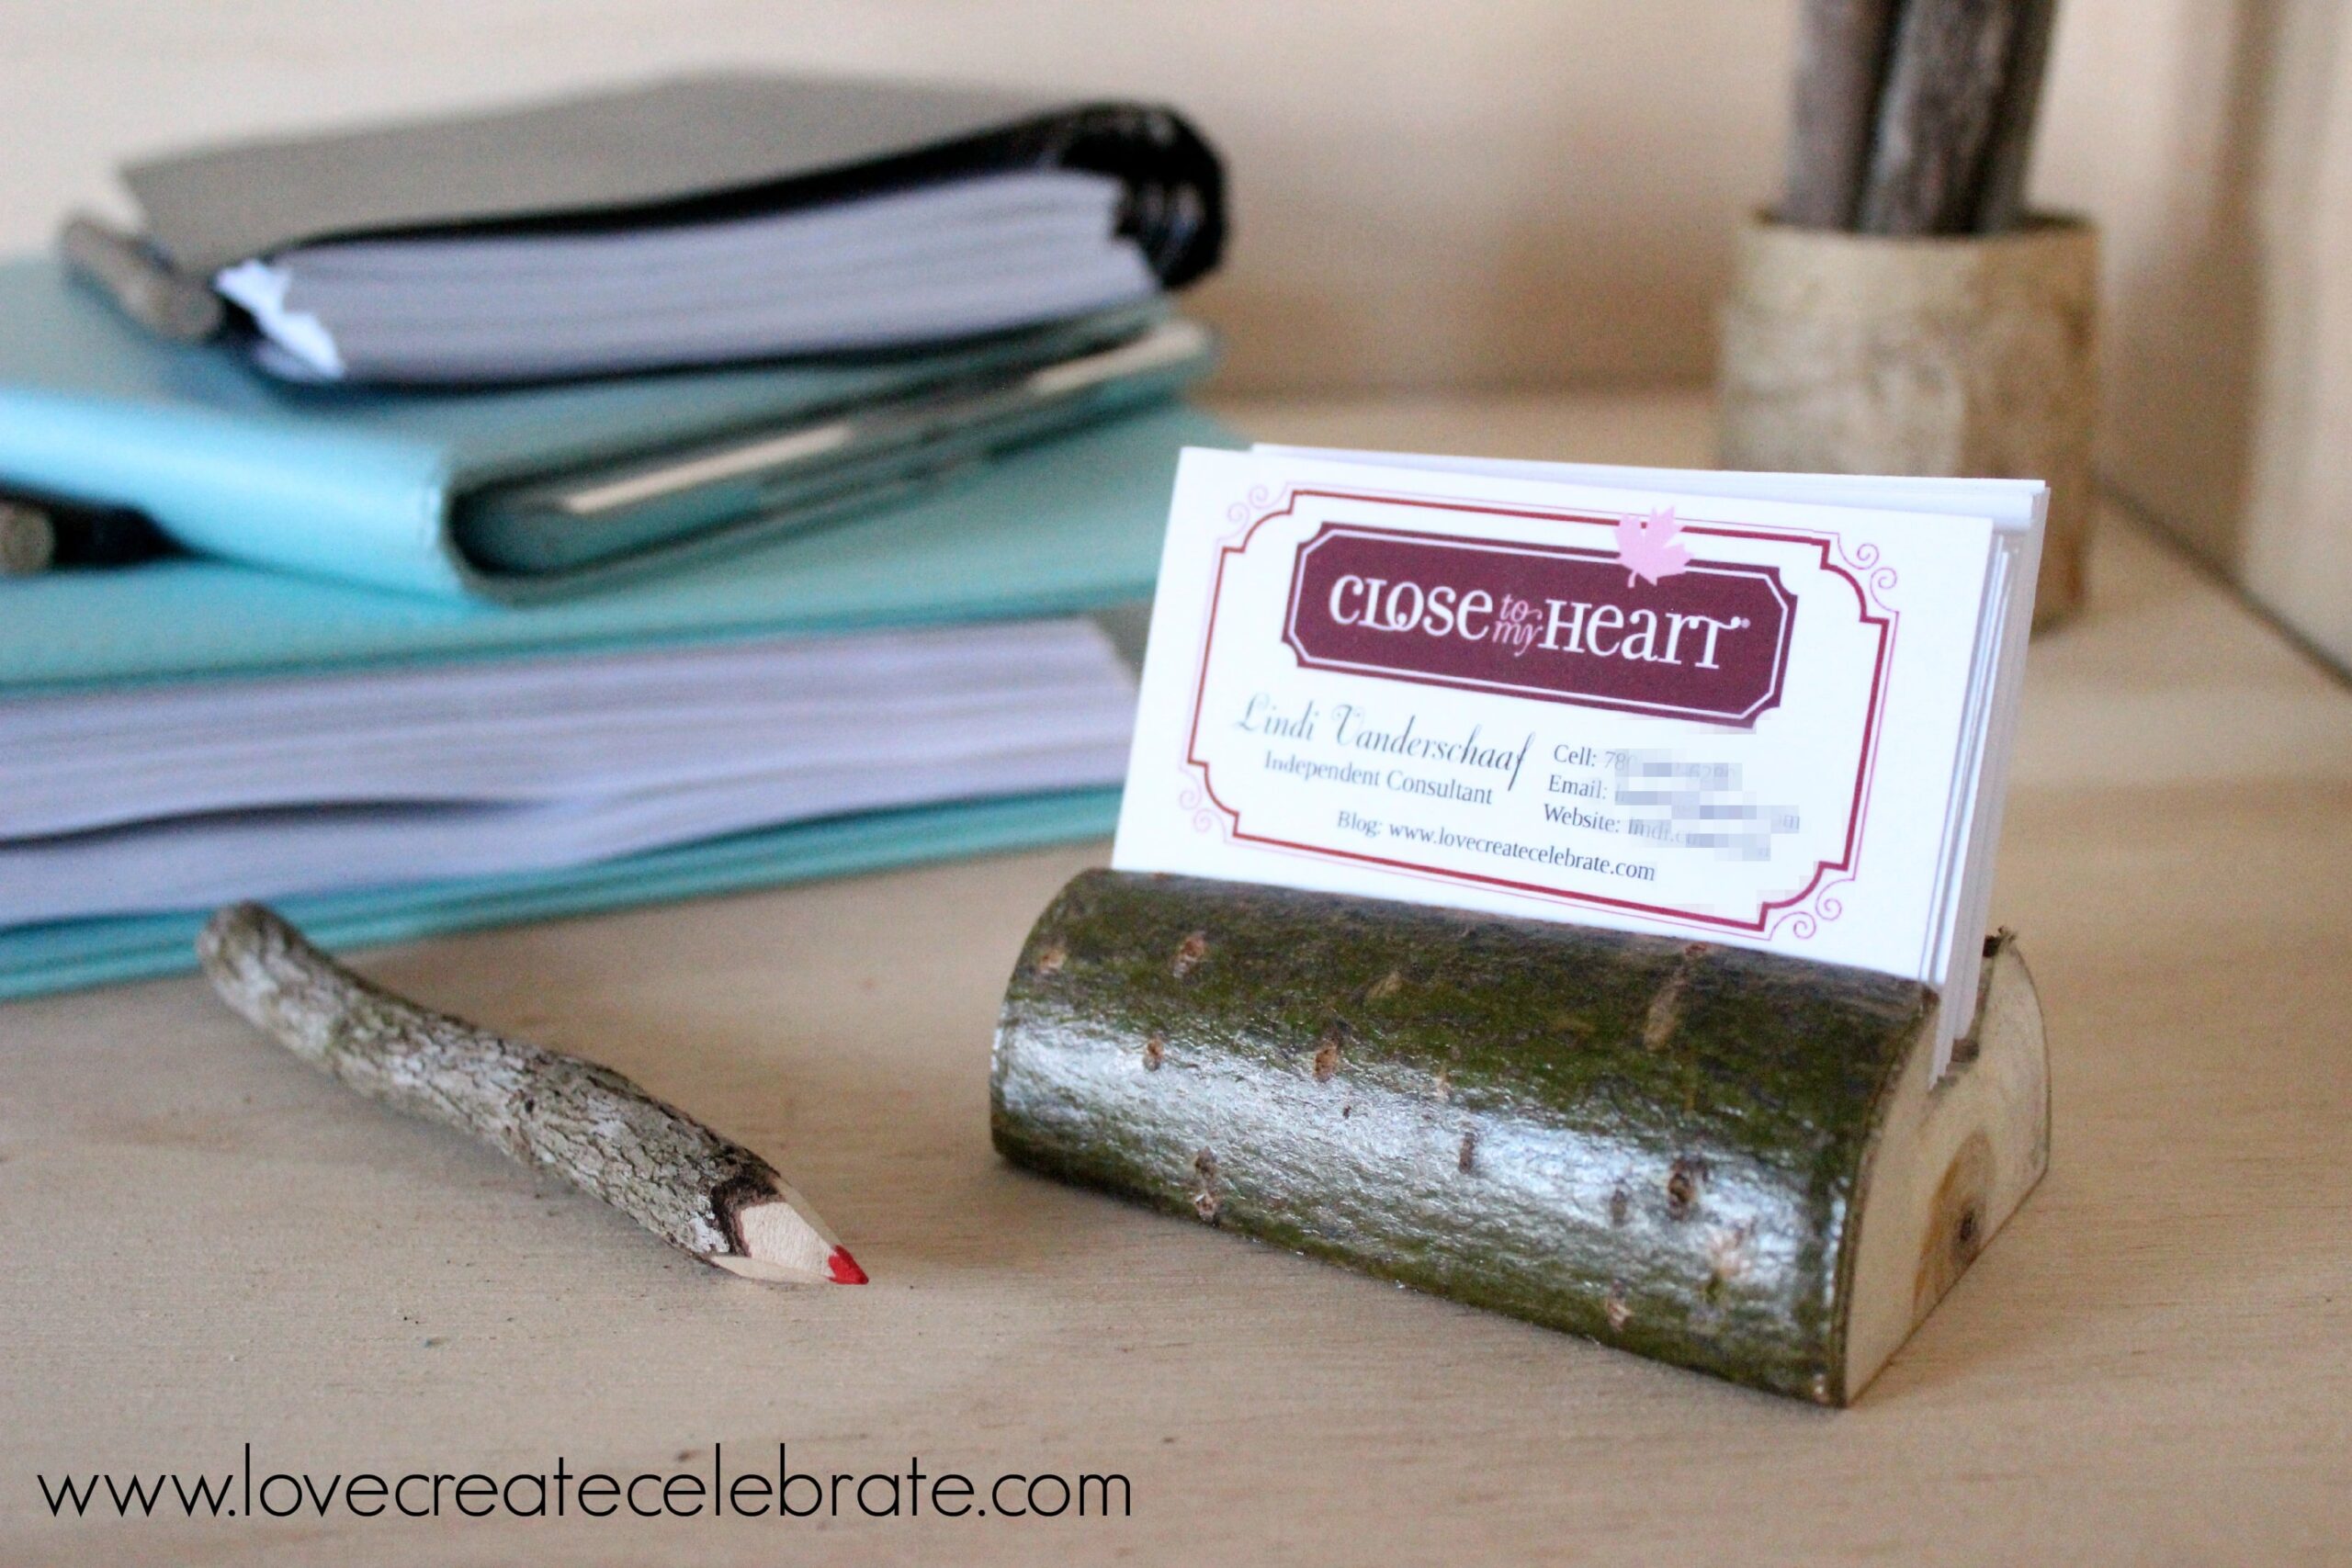
There we have an incredible desk piece, that will be talked about by everyone that enters your home office – promise! Hope you enjoy your rustic business card holder!
More Rustic Wooden DIY Projects!
Don’t forget to subscribe to our YouTube channel for more great holiday season DIYs!
For more inspiration from my all-purpose wood branch try your hand at:
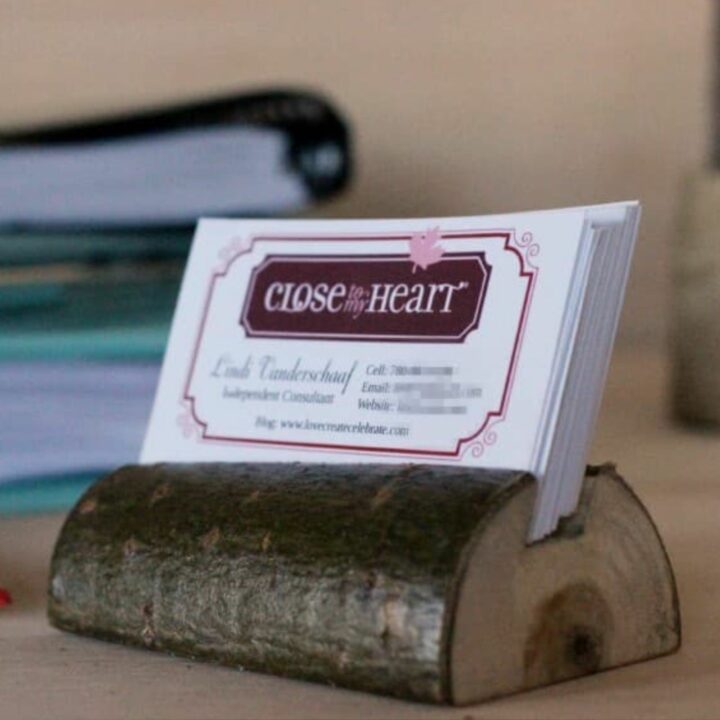
Wood Branch Business Card Holder
Beautiful DIY Wooden Business Card Holder! Use a wooden log to make your own custom rustic business card holder!
Materials
- Branch (approx. 3 inches in diameter)
- Business Card
- Pencil
- Mitre Saw
- Table Saw
- Bandsaw
- Sandpaper (50 grit)
- Clear acrylic sealer
- Oven (optional)
Instructions
- Measure your business card lengthwise along your branch.
- Decide how much space you want on either side of the card, and draw a line to cut across for the length of your card holder.
- Use the mitre saw to cut your wood piece at the desired length.
- Cut the branch in half lengthwise using the table saw
- Draw where you want your business card opening to sit with pencil
- Use the bandsaw to cut through the opening of the card holder.
- Sand the inside to make it smooth, as well as the bottom so that it sits flat.
- Put the pieces in the oven for 20 minutes at 100F so it dries out well
- Spray them with an acrylic sealer to protect the rustic wooden finish


Angela, blue i style
Tuesday 24th of February 2015
I would have never thought of this! So creative and it looks so great! Thanks for linking up at The Creative Circle!
Lindivs
Thursday 26th of February 2015
Thanks Angela :) So glad you liked them!!
Brittany
Monday 23rd of February 2015
This would look great in our home office & I think my husband would love it! Thanks for sharing at the #HomeMattersParty - we hope to see you again next week :)
Lindivs
Monday 23rd of February 2015
Thank you! I'm loving it on my desk right now :)
Lindsay Eidahl
Monday 23rd of February 2015
I love these so much! Thank you for sharing on Show Me Saturday!
Lindivs
Monday 23rd of February 2015
Thank you for stopping by! SO glad you liked it :)
Carrie @ Curly Crafty Mom
Friday 20th of February 2015
So many great wood crafts! The business card holder is rustic and natural, which I love. The napkin holder are lovely, too!
Lindivs
Saturday 21st of February 2015
Thank you so much!! I love working with natural materials!
Brandi @ penguinsinpink.com
Monday 16th of February 2015
This is great . What a fun tutorial. Thanks for linking up to the Bloggers Brags Pinterest Party. I have pinned to the Bloggers Brags Broad.
Lindivs
Tuesday 17th of February 2015
Thank you! Glad you liked the tutorial :)